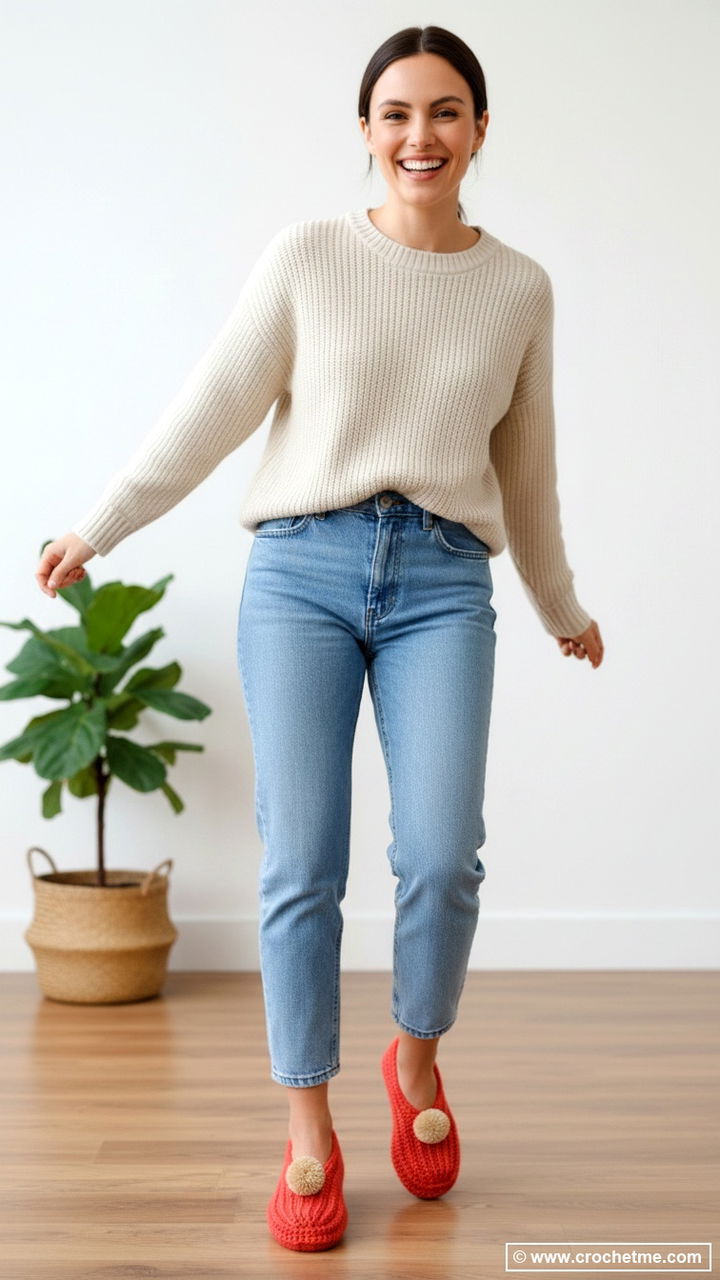
There’s something so satisfying about slipping your feet into a pair of cozy, handmade slippers at the end of a long day. If you’ve been wanting to make your own but felt intimidated by complicated patterns with tons of shaping, this free crochet slippers pattern for you.

This beginner-friendly crochet slippers pattern takes all the fuss out of making footwear. Instead of dealing with tricky increases, decreases, and heel shaping, you simply crochet a rectangle and then fold and sew it into a slipper shape. Seriously, that’s it. And the best part? You can make these to fit any foot size, from kids to adults.
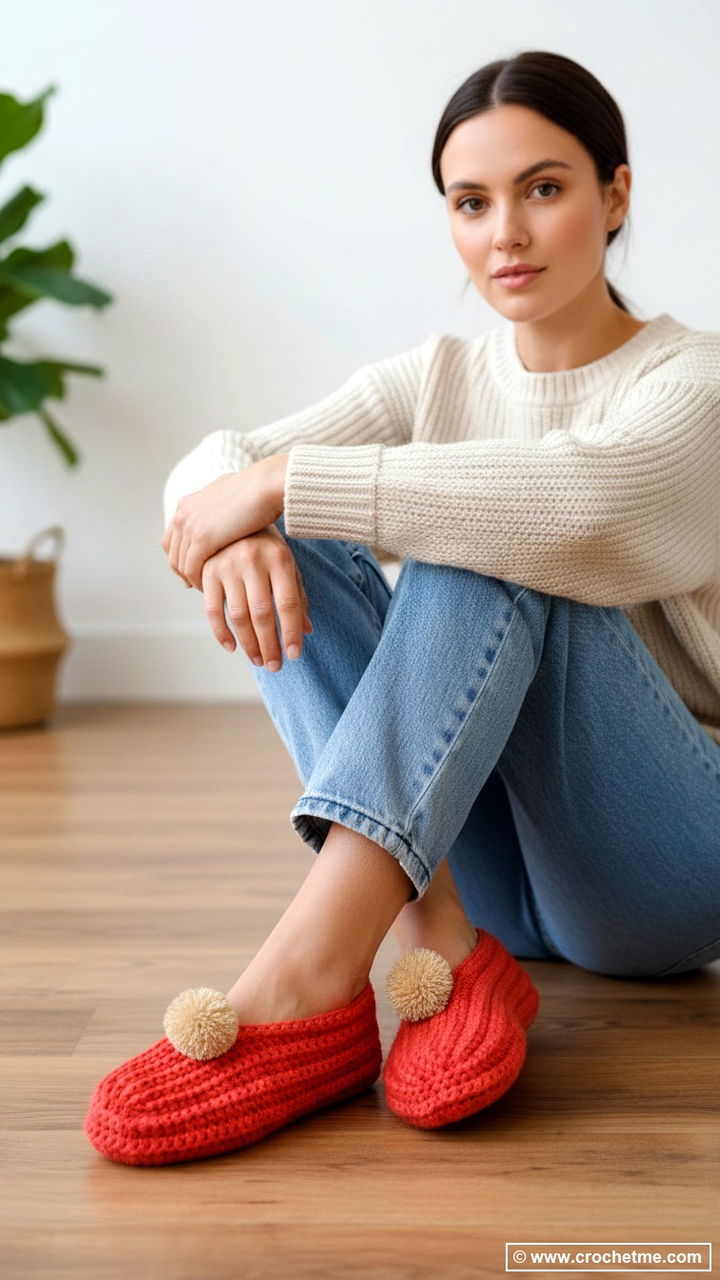
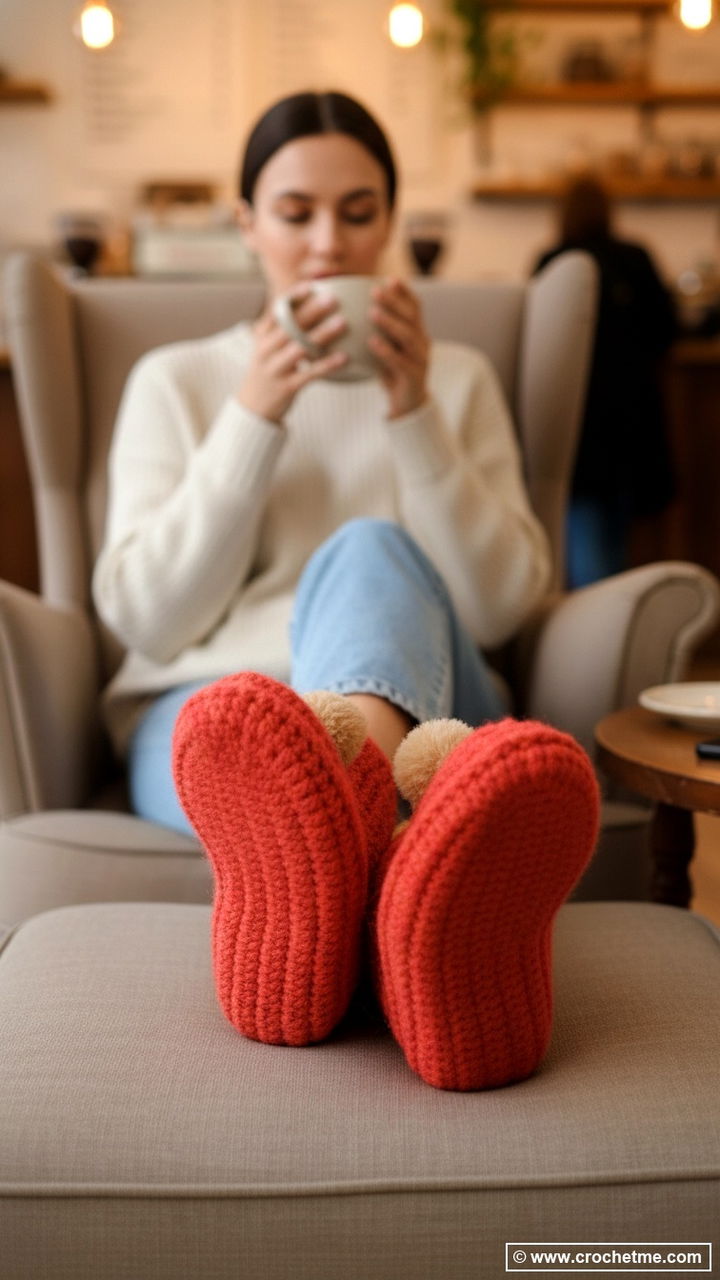
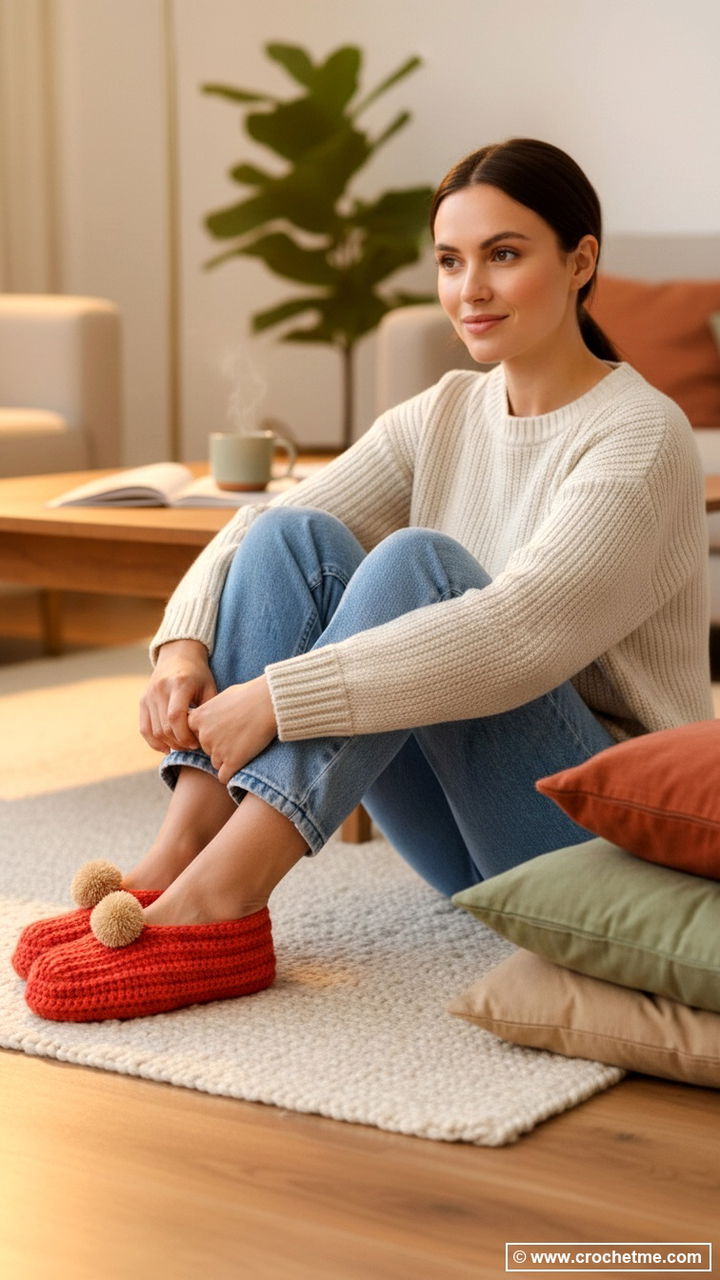
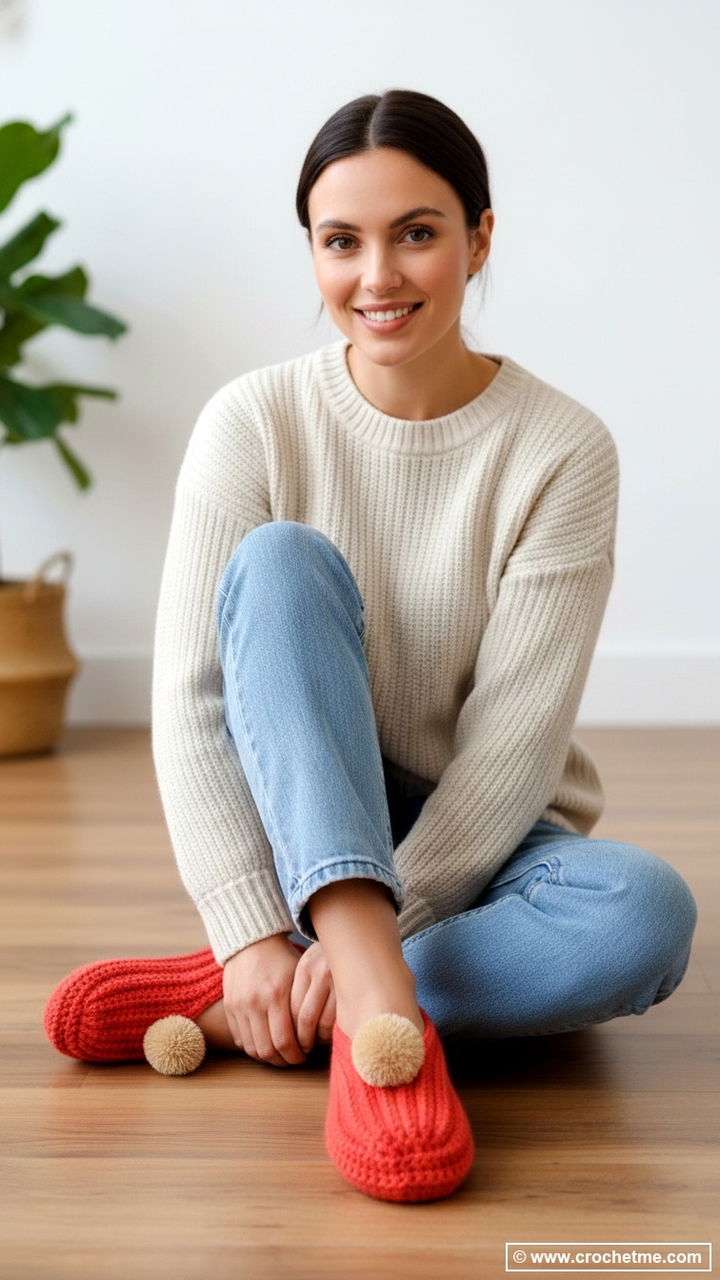
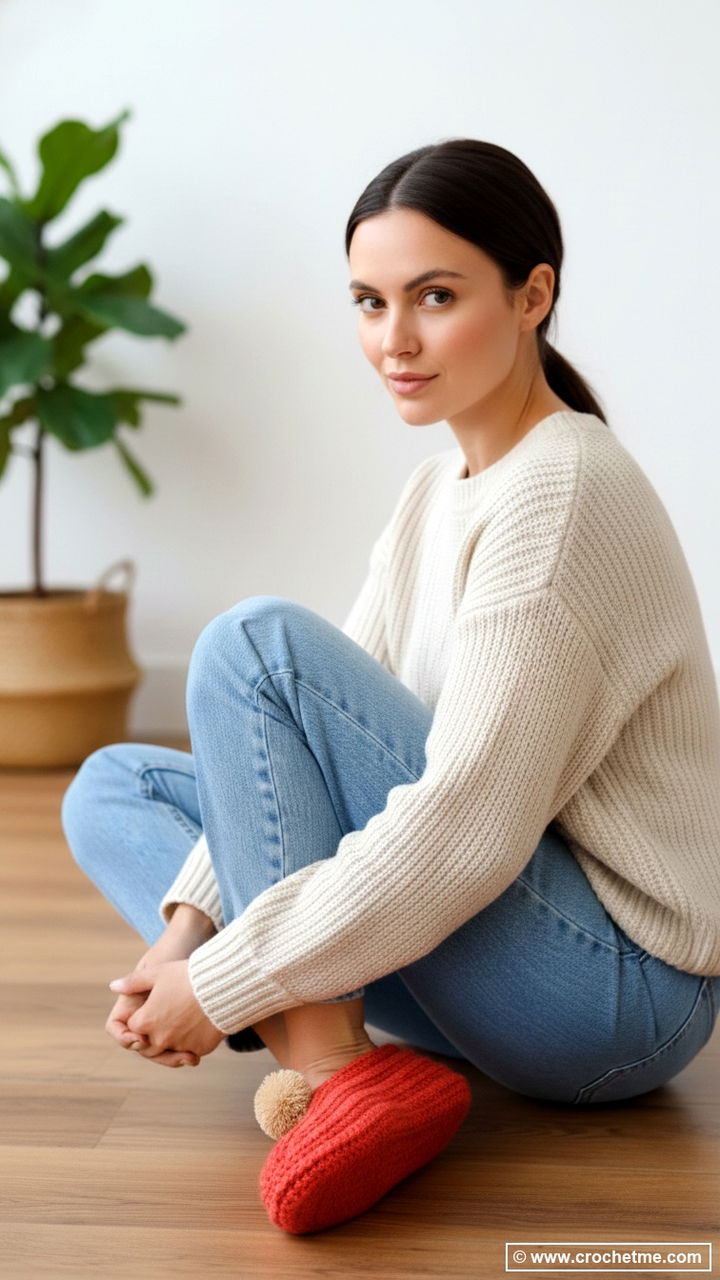
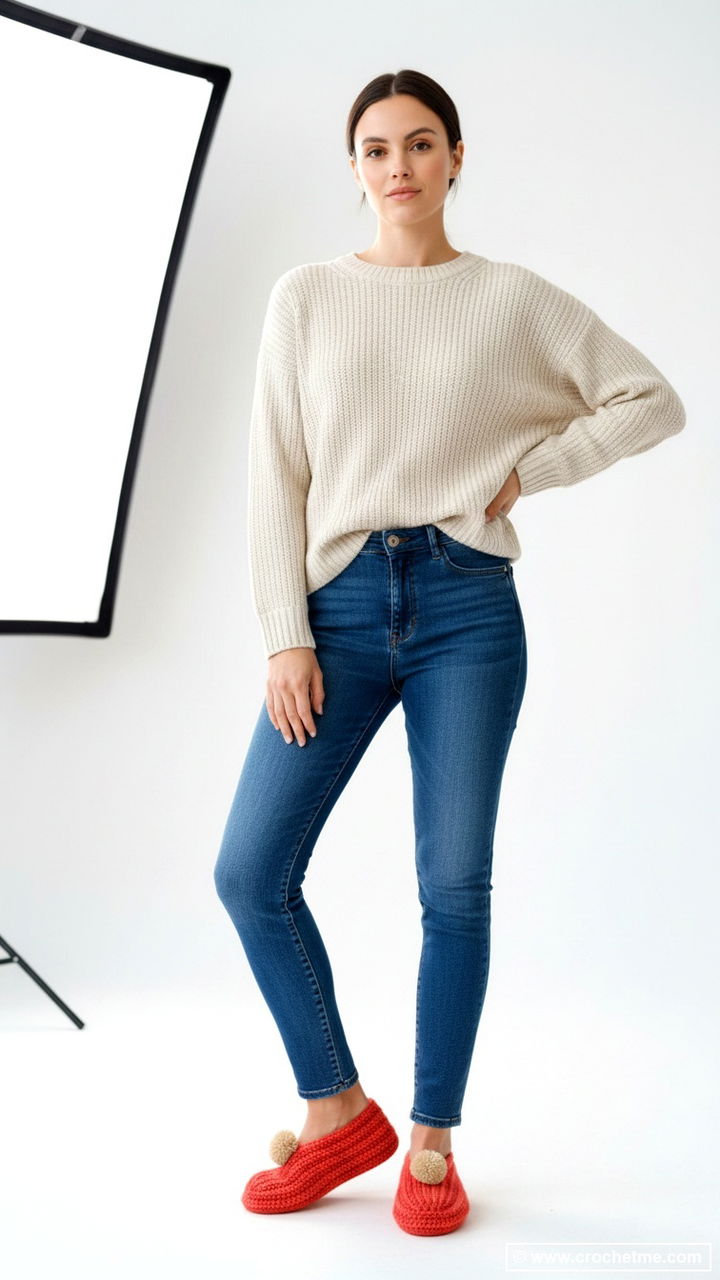
Whether you’re making a pair for yourself or whipping up some quick handmade gifts, these slippers work up fast and look adorable with a little pom-pom on top.
About This Pattern
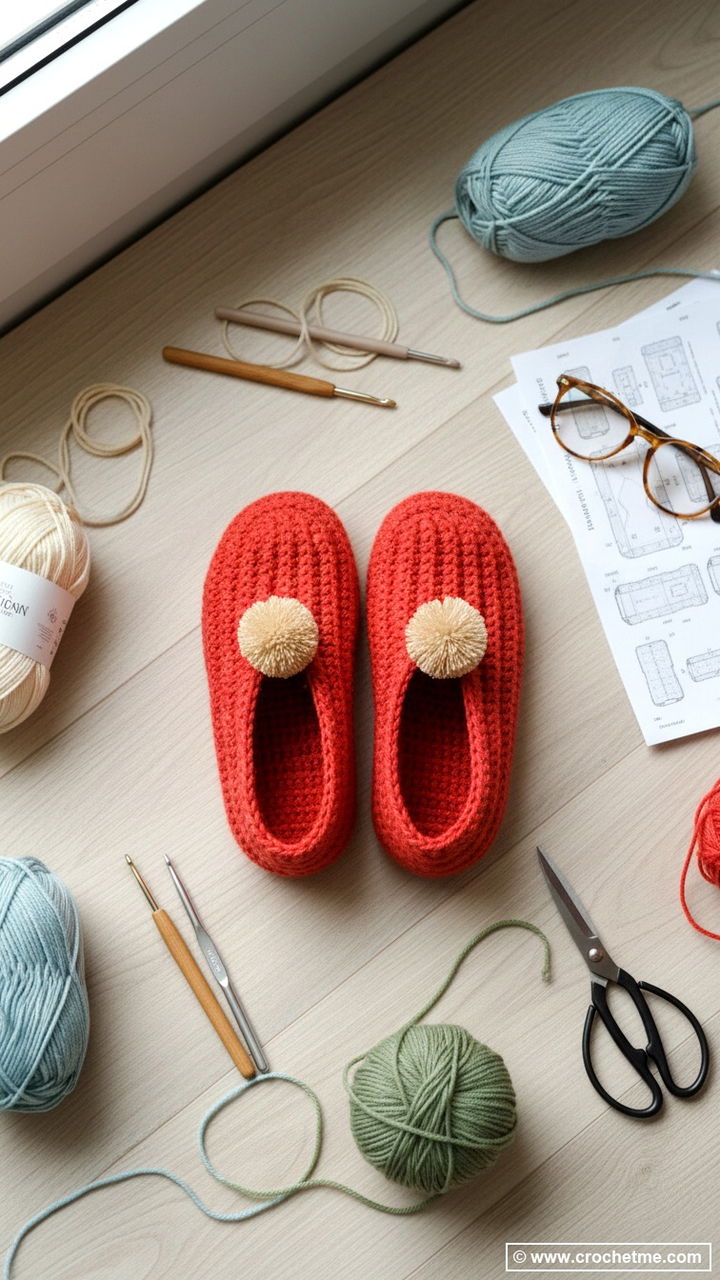
This clever slipper design comes from Donna Wolfe at Naztazia, and what makes it so brilliant is the simplicity. You’re basically crocheting a flat rectangle using single crochet stitches worked in the back loops only. That back loop technique gives the fabric a nice ribbed texture and adds stretch so the slippers fit comfortably on different foot shapes.
The length of your starting chain determines the length of the slipper (heel to toe), and the number of rows you crochet determines how the slipper wraps around the top of your foot. Once your rectangle is done, you fold it, sew the heel seam, cinch the toe closed, and sew along the top. Done!
It’s the kind of pattern that makes you wonder why you ever thought crochet slippers were hard.

Skill Level
Beginner: If you can chain, single crochet, and work in the back loop, you’ve got all the skills you need. The sewing and assembly part is straightforward too. This pattern is perfect for someone who’s new to crochet and wants to make something useful right away.
Materials Needed
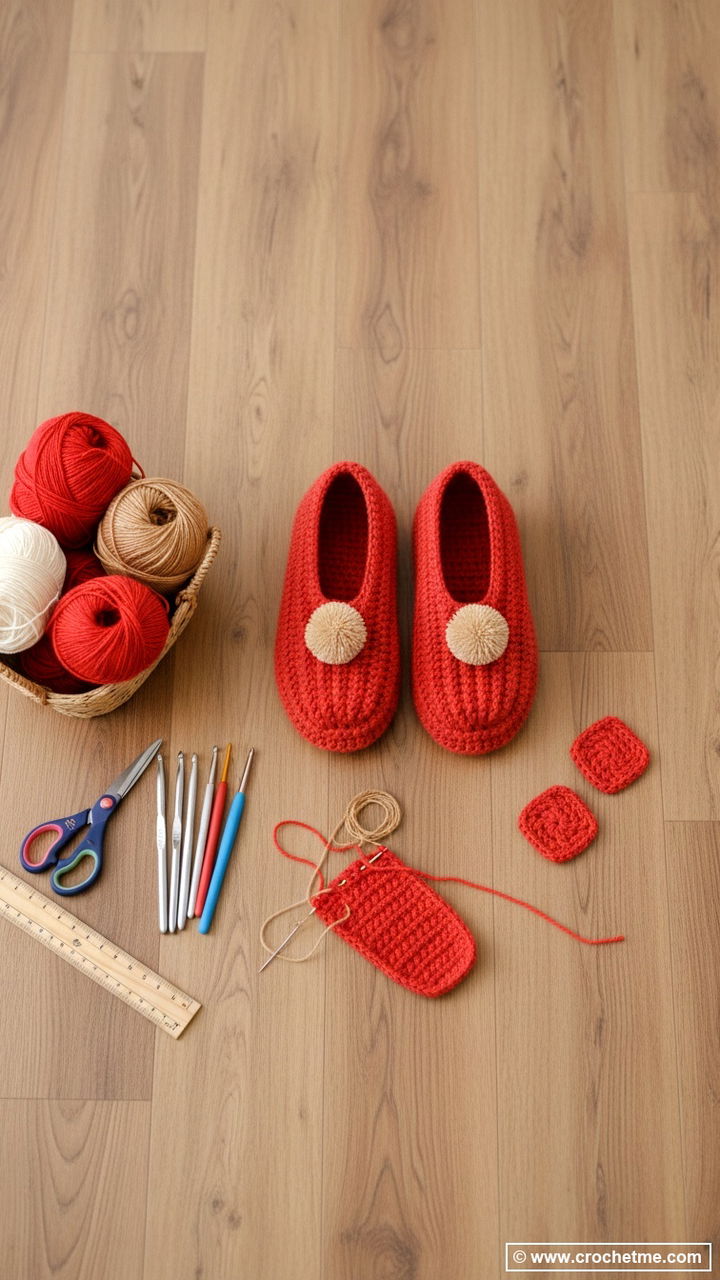
Here’s what you’ll need to gather before you start:
- Yarn: About 350 yards of worsted weight yarn (medium weight, #4). Acrylic works great because it’s durable, machine washable, and affordable. You can also use a wool blend if you want extra warmth.
- Crochet Hook: Size G (4 mm) hook. Adjust if needed based on your gauge.
- Yarn Needle: For sewing the seams and weaving in ends.
- Scissors: For cutting yarn.
- Stitch Markers: Optional but helpful for keeping track of your rows.
- Pom-Poms: Optional for decoration. You can buy them premade or make your own.
- Puffy Paint: Optional. Adding dots of puffy paint to the bottom gives your slippers some grip on hard floors so you don’t slide around.
Finished Size and Gauge
- Sample Size: Women’s 7-9 (US)
- Gauge: 16 stitches and 16 rows = 4 inches square in single crochet using back loops
The beauty of this pattern is that you’re not locked into one size. You measure the actual foot you’re making the slippers for and adjust your chain length and row count accordingly. So whether you’re making tiny slippers for a child or larger ones for someone with big feet, the method stays the same.
How to Customize the Size
Getting the right fit is easy with this pattern because you’re working directly from measurements rather than following a fixed stitch count.
- For the length: Measure the foot from heel to toe. Chain enough stitches to match that length, plus about two extra chains to give the toes a little breathing room.
- For the width: The number of rows determines how the slipper wraps around the top of the foot (the instep area). As you get close to row 20 or so, wrap your crocheted piece around the foot to check the fit. Keep adding rows until the rectangle is wide enough to comfortably cover the instep when folded and sewn.
- Tip: Try to end with an odd number of rows. This helps the ends match up more evenly when you fold and sew the heel.


Pattern Instructions
This pattern was created by Donna Wolfe from Naztazia, and she’s put together an excellent step-by-step video tutorial that walks you through the entire process from start to finish.
Rather than rewriting her instructions here, I’d encourage you to head over to her resources where you can follow along with the video and see exactly how each step is done:
Watch the Video Tutorial: How to Crochet Easy Slippers from a Rectangle
- Visit Naztazia for More Patterns: https://naztazia.com
- Follow on Facebook: https://facebook.com/naztazia
- YouTube Channel: https://youtube.com/naztazia
The video shows you how to measure for the right fit, demonstrates the back loop single crochet technique, and walks through the folding, cinching, and sewing process. It’s super helpful to actually see how the rectangle transforms into a slipper.

Tips for Making Great Slippers
- Keep your tension consistent. Since you’re working in back loops, uneven tension will show up more than it would with regular single crochet. Try to keep your stitches uniform throughout.
- Use stitch markers to count rows. It’s easy to lose track when you’re crocheting row after row of the same stitch. Place a marker every 10 rows or so to keep count.
- Try them on as you go. Once you get past row 20, start checking the fit around the instep. It’s much easier to add or subtract rows now than to realize after sewing that the slippers are too tight or too loose.
- Leave long tails for sewing. The pattern calls for a 10-inch tail at the heel end and a 16-inch strand for cinching the toe. Don’t skimp on these because you’ll need the length to sew securely.
- Sew firmly but not too tight. You want the seams to hold up but still have a little give so the slippers are comfortable to wear.
- Add grip to the bottom. If you have hard floors, those puffy paint dots on the sole make a real difference. Just apply large dots, let them dry for a day or two, and you’ll have non-slip slippers.

Ideas for Customization
Once you’ve got the basic technique down, there’s plenty of room to make these slippers your own.
- Play with color. Make them in a solid color, alternate colors every few rows for stripes, or use a variegated yarn for a fun effect without any extra effort.
- Add different embellishments. Pom-poms are classic, but you could also add buttons, bows, crochet flowers, or even little appliqués.
- Try different yarn weights. A bulky yarn with a larger hook will give you thicker, cozier slippers that work up even faster. Just remember to adjust your measurements since the gauge will change.
- Make them as gifts. These slippers work up quickly and make thoughtful handmade presents. Pair them with some cozy socks or a nice candle for a simple gift set.
- Create a matching set. Once you’ve made slippers, you could crochet a simple headband or fingerless gloves in the same yarn to complete the look.
Why This Pattern Works So Well
A lot of crochet slipper patterns require you to work in the round, deal with heel turns, or follow complicated shaping. That’s fine if you enjoy a challenge, but sometimes you just want to make something useful without a lot of fuss.
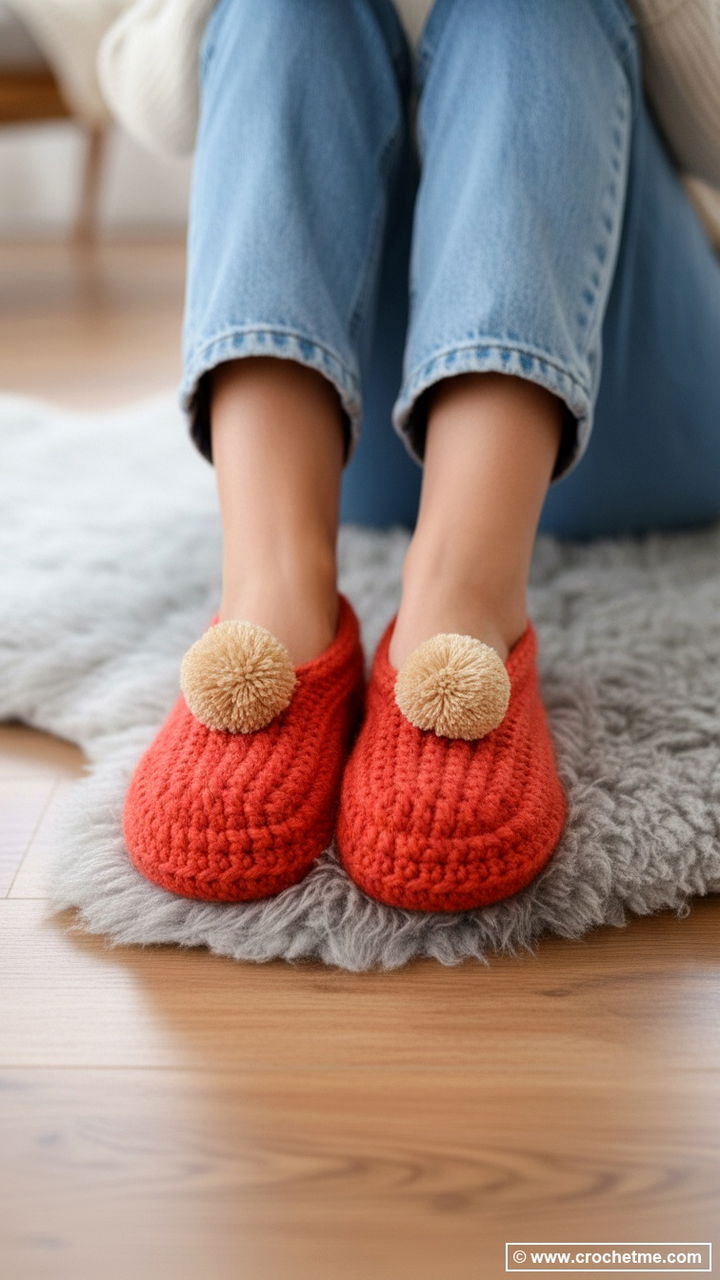
This rectangle method strips away all the complexity. You’re doing the most basic crochet stitch there is, just worked in the back loops. The clever part is in how you fold and assemble it. The cinched toe creates that rounded slipper shape, the sewn heel gives structure, and the back loop texture adds both style and stretch.
It’s also incredibly forgiving. If your gauge is a little off, you just adjust your chain length or row count. There’s no math-heavy sizing chart to follow, just measure and crochet until it fits.
Final Thoughts
If you’ve been putting off making crochet slippers because they seemed too complicated, give this pattern a try. The rectangle construction takes all the guesswork out of shaping, and the back loop technique gives you a stretchy, textured fabric that’s comfortable to wear.
These slippers come together quickly, fit any size foot, and make wonderful gifts. Add a pom-pom on top and some puffy paint dots on the bottom, and you’ve got a pair of handmade slippers that look great and actually stay put on slippery floors.
Head over to Naztazia to watch the full video tutorial and get started on your own pair. Once you make one set, you’ll probably want to make more.
Happy crocheting!
