Whether you have been crocheting for years or are learning for the first time, it can be a wonderful way to showcase your creativity, use your hands, and make new items you will wear or use for years to come.
In addition to expanding your personal crochet collection, any crocheter knows that these fantastic creations also make wonderful gifts. When gifting your loved one something you crochet yourself, you show them your love with every stitch while also passing the time doing something you enjoy.
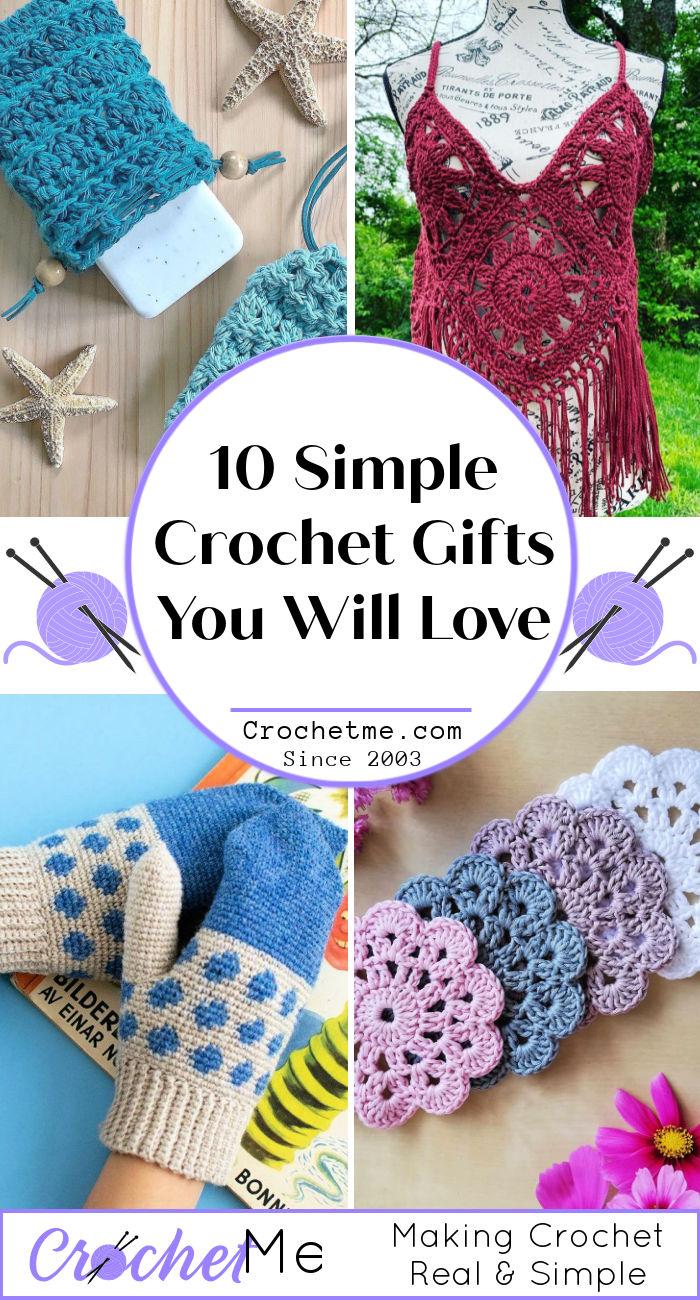
For many people, nothing is better than creating or receiving a thoughtful homemade gift, so here are ten simple crochet gifts your partner will love.
1. Coasters

Does your partner hate when you leave coffee rings around the house? Maybe they have a coffee table that always tends to stain. If this is the case, crocheted coasters could be the perfect gift for your partner or anyone in your life.
They make a tasteful addition to a coffee table, nightstand, kitchen, or dining room and can add a warm and cozy vibe to your partner’s home. They are the perfect beginner’s project, as they are small and can be a simple solid square, or become more complex with a multicolored pattern or circle shape.
2. Potholder
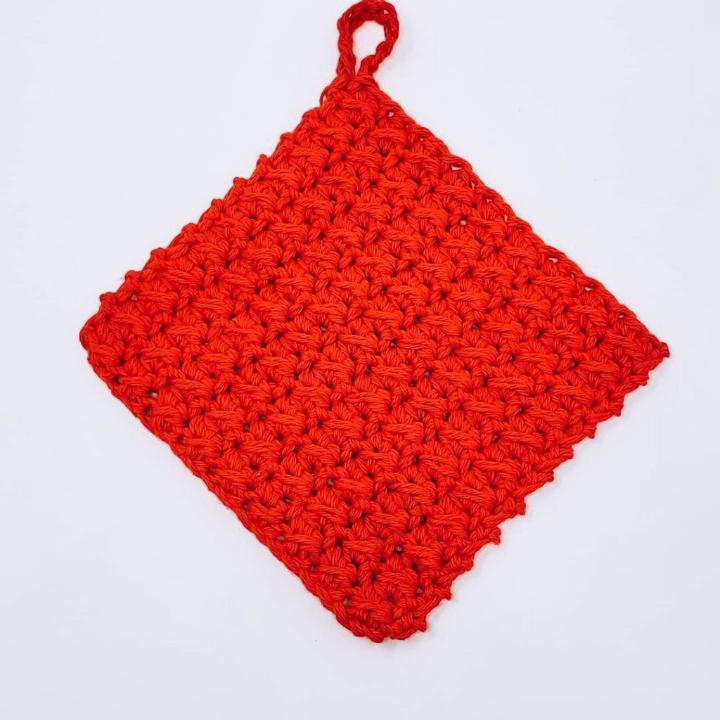
Just like coasters, potholders are a simple way to showcase your crochet skills in a thoughtful gift to your partner who loves to cook or spend time in the kitchen. Using a simple square pattern, your crochet potholder can be any size and color you like and will be a great addition to your loved one’s cozy kitchen
3. Blanket
Another great simple crochet project to create for your partner is a blanket. A crocheted blanket can be a great beginner’s project but can also increase in complexity as you incorporate patterns.
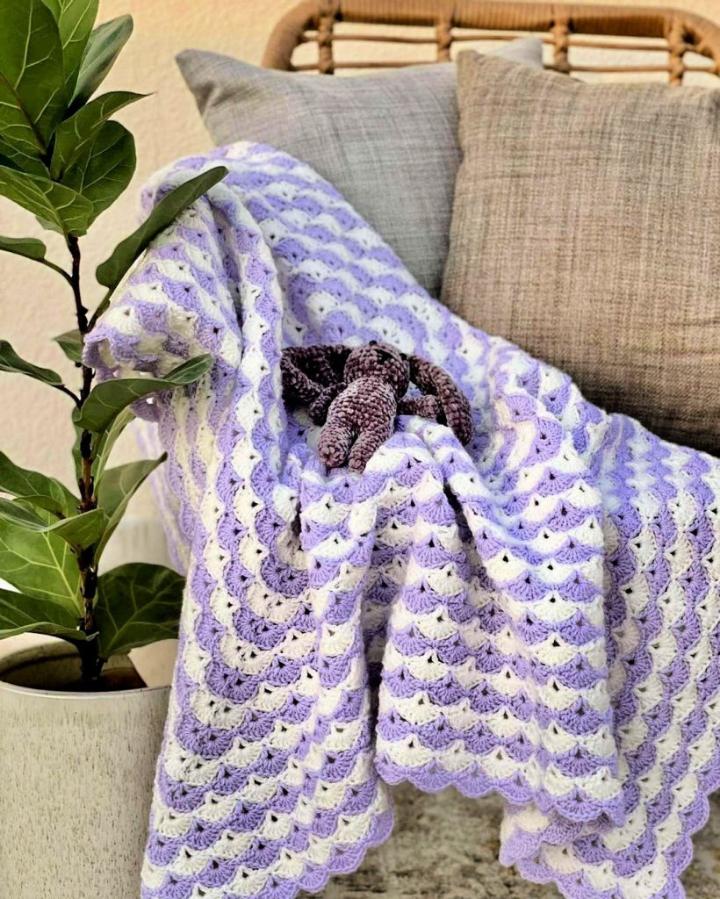
With a little practice, you can create your partner’s favorite design to personalize your project. You can crochet your partner’s blanket to be the perfect size for their bed or to be used as a throw on their couch.
Every time they wrap themselves up in your homemade blanket they will feel the warmth of your love.
4. Beanie
Beanies are the perfect winter holiday gift for your fashionable partner. Simply choose the color and fit and you can create the perfect hat to keep them warm all season.
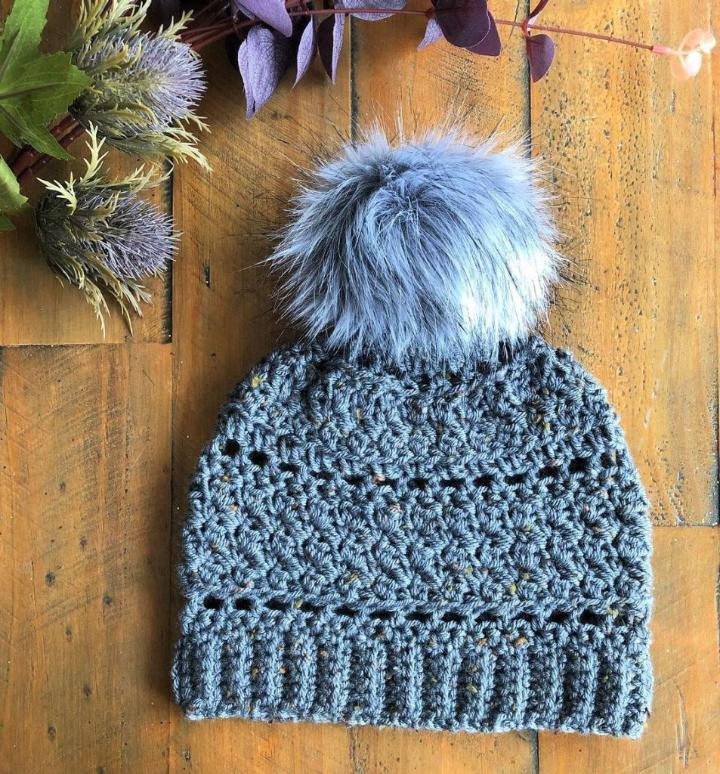
Everyone needs a good winter hat, and something that you make yourself will seem more thoughtful than something you buy in the store. You can personalize your beanie how your partner likes with their preferred fit, style, color, and pattern. Anytime your partner puts on their new hat, they’ll think of you.
5. Phone case
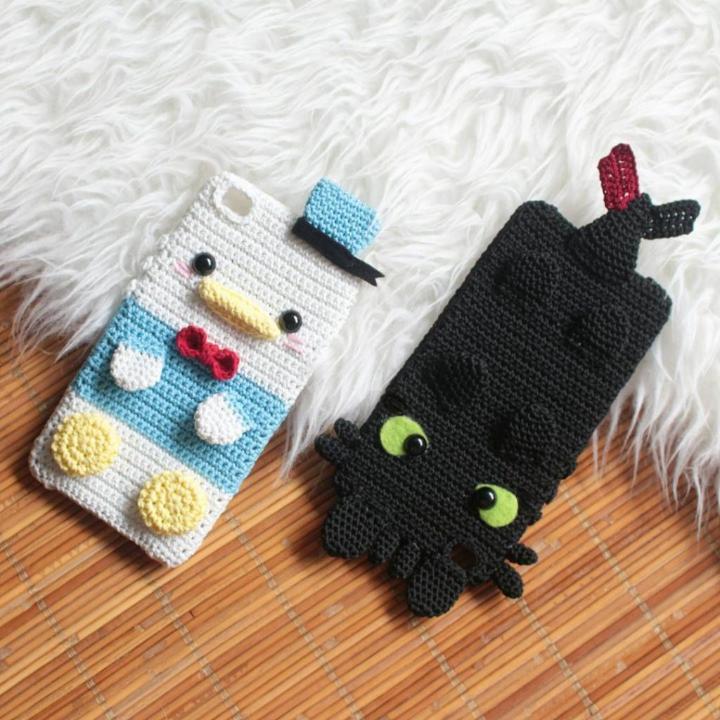
Nowadays, everyone uses their phones for so many different purposes. Searching the web or staying in touch with friends and family, your partner is bound to need a phone case to protect their phone or add an element of style.
Why not crochet them a phone case?
This simple, small crochet phone case does double duty in protecting your partner’s phone while also giving them a statement piece. A nice soft yarn in your partner’s favorite color will help to polish their phone screen each time they put it away.
6. Mittens
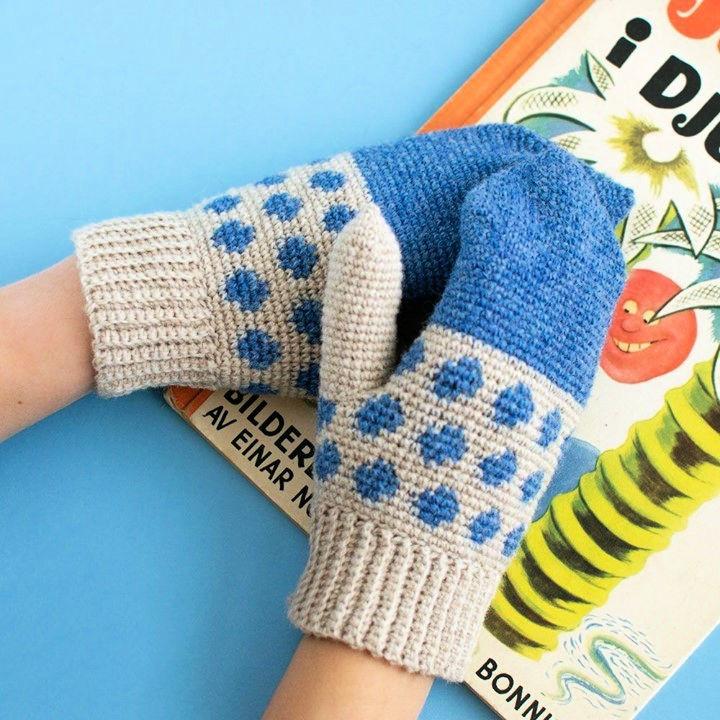
As you become more advanced with crochet, a great option for gifting is mittens. Mittens are an essential winter garment, keeping your fingers toasty while showing off your crochet style. They are a great way to show your partner you care and can remind them of cozy times holding your hand.
Mittens are a great alternative to gloves, as they involve less complicated stitches and also have the added benefit of keeping all of your fingers close together so that they stay warm. Mittens can be solid, striped, or a more complex pattern, and any range of your partner’s favorite colors.
7. Pouch
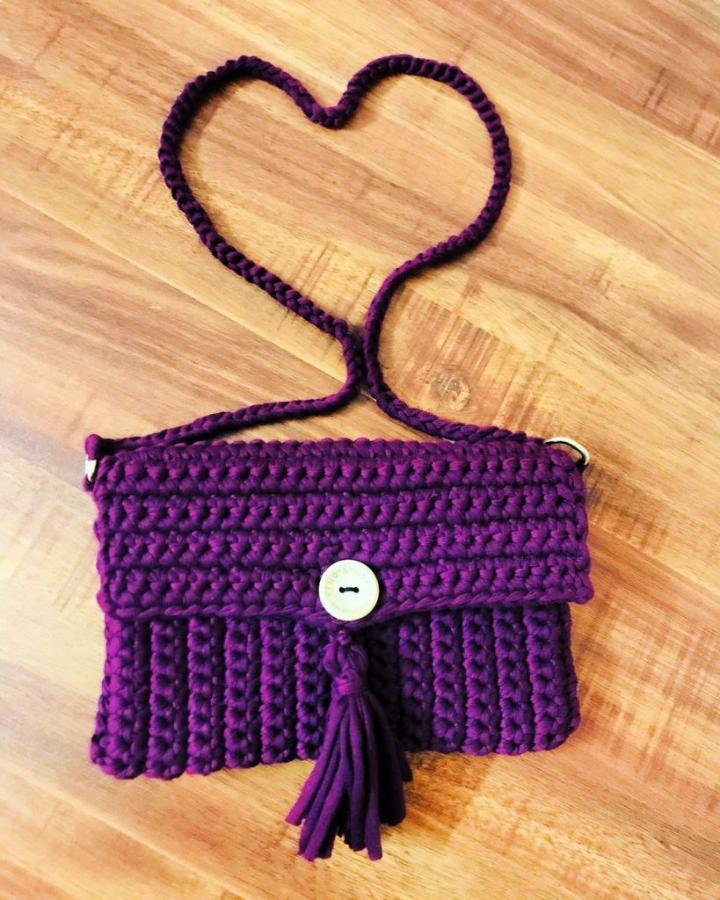
Maybe your partner needs a place to keep pens and pencils, books, or other objects. A crocheted pouch or bag can be a thoughtful, useful gift for them.
With the creativity and freedom of crochet, you can create a pouch or bag in any shape or size to fit your partner’s needs. Soft, tactile weaving is a great way to keep small or large objects together and organized while they are protected from dirt and dust.
Better yet, the pouch can be a nod to their interests such as for board game pieces, dice, or art supplies. The possibilities are endless.
8. Boho top
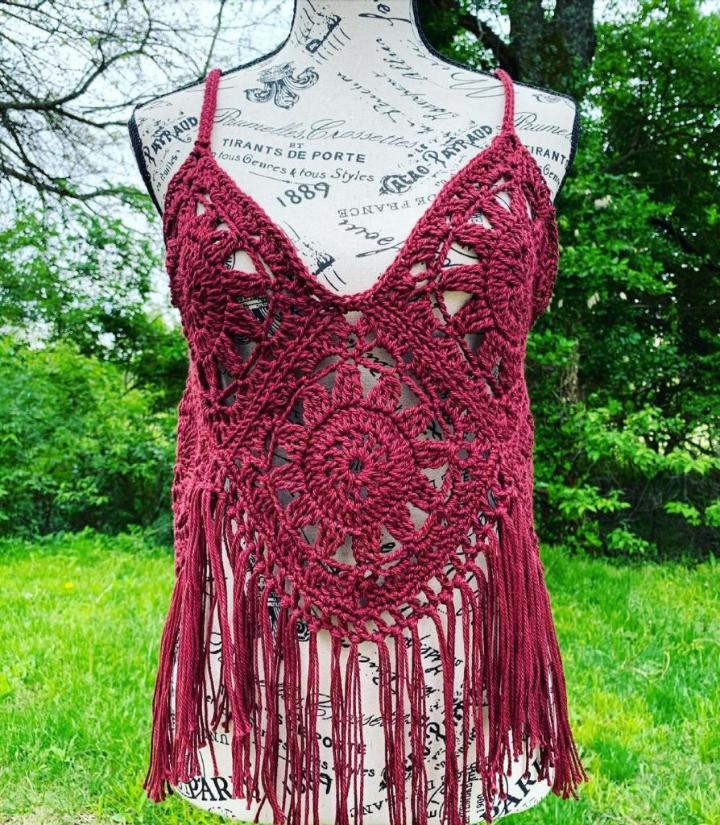
If your partner is following the recent fashion trends and knows they are in a relationship with a talented crocheter, they will be sure to want a fun boho top as their next gift. These tops come in many different styles and colors but are always a great item to have in a summer wardrobe.
With warmth and softness from the knit fibers but a flowy fit or open back to match the summer mood, they are the perfect item to add to your partner’s wardrobe and can be worn day or night.
9. Sweater
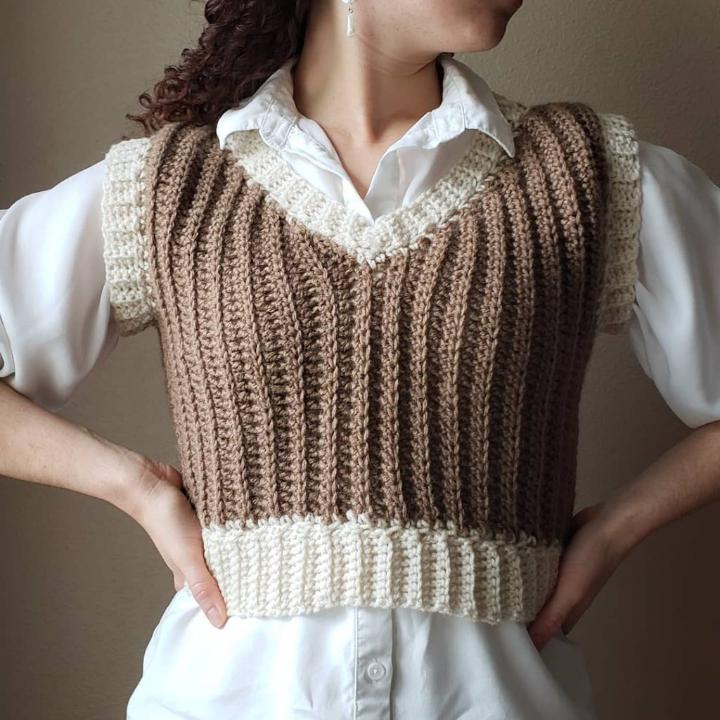
Just as a fun, flirty boho top is perfect for the summer, a cozy crochet sweater is the ideal winter gift for your partner. Sweaters are a timeless and favorite gift among crocheters and can be a great way to show your love to your partner through your hard work in every stitch.
Although sweaters may take a little longer to create, the payoff is well worth it when you can think of your partner every time it gets worn or complimented. Crochet patterns are available in every style imaginable so you can find something your partner will wear time and time again.
10. Soap saver
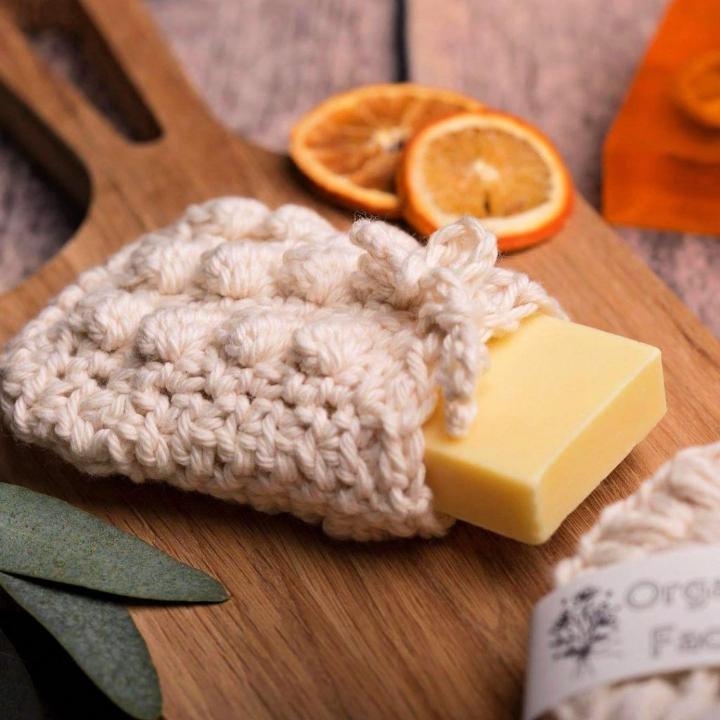
A soap saver is a small crochet pouch that you can use to store and lather a bar of soap. It is the perfect gift for the partner who loves baths, spa days, or any form of self-care. Together with a bar of their favorite soap, you can give a thoughtful gift that reminds them to take care of themselves.
In conclusion
Crochet gifts are a wonderful way to show your partner you love them and think about them with every stitch. These simple gifts are a great way to practice and showcase your skills while creating something your partner will love. Even the simplest crochet gift shows your partner that you were willing to spend the time handcrafting something unique just for them.
Author:

Marie Miguel has been a writing and research expert for nearly a decade, covering a variety of health-related topics. Currently, she is contributing to the expansion and growth of a free online mental health resource with BetterHelp.com. With an interest and dedication to addressing stigmas associated with mental health, she continues to specifically target subjects related to anxiety and depression.