A crochet prayer shawl is an excellent way to show your love to your friends and family in sad and happy moments. Check these 25 free crochet prayer shawl patterns that come with easy directions and step by step pattern. Give your sad friend great sympathy by giving these crochet prayer shawls as a gift, and they will make you look gentle during the morning prayers. It will provide comfort when going through very emotional situations. There is a huge variety of prayer shawl crochet patterns to choose from. And the best ones you are going to see in this collection of 25 free crochet prayer shawl patterns will make your embrace and celebrate life more.
These crocheted prayer shawl patterns are the crazy achievements done using the different types of crochet techniques and creativity. These free prayer shawl patterns will make an epic handmade present for a friend or family member recovering from a surgery or serious illness. The shawls are the crochet with the purpose in mind to provide the love hug and comfort.
You will get here the easy crochet prayer shawls patterns, visual guides, step-by-step instructions, hook, guides, gauge calculate and yarn weight guides to stitch these amazing compassion gifts nicely. Along with different yarn color combinations, there are too many design textures too to choose from. Vary your stitches to vary the design texture. Furthermore, there are special summer, spring, and winter blessing shawls featuring amazing openwork like butterfly open motif and mesh style design texture. Look through all prayer shawl crochet pattern to see all unique designs, will win the heart at a very first look.
1. Crochet Prayer Shawl
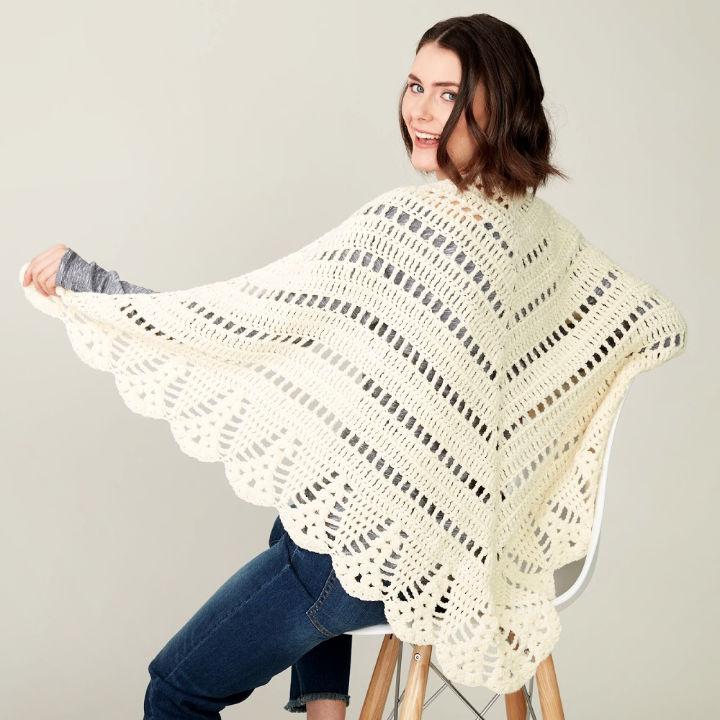
With a finished size of 63” x 31” this here a perfect crochet shawl, featuring fantastic triangular lines of openwork. The design is less warm and will rock for less chilly days. The calculated gauge for this crochet shawl is 13sc and 14 rows make the 4” of this shawl. The design is super beginner-friendly, and you have to crochet the 345yds of Caron Kindness! You need a 5mmm crochet hook to stitch this great looking prayer shawl. The final accent edging makes this shawl a bit more enchanting. Details here yarnspirations
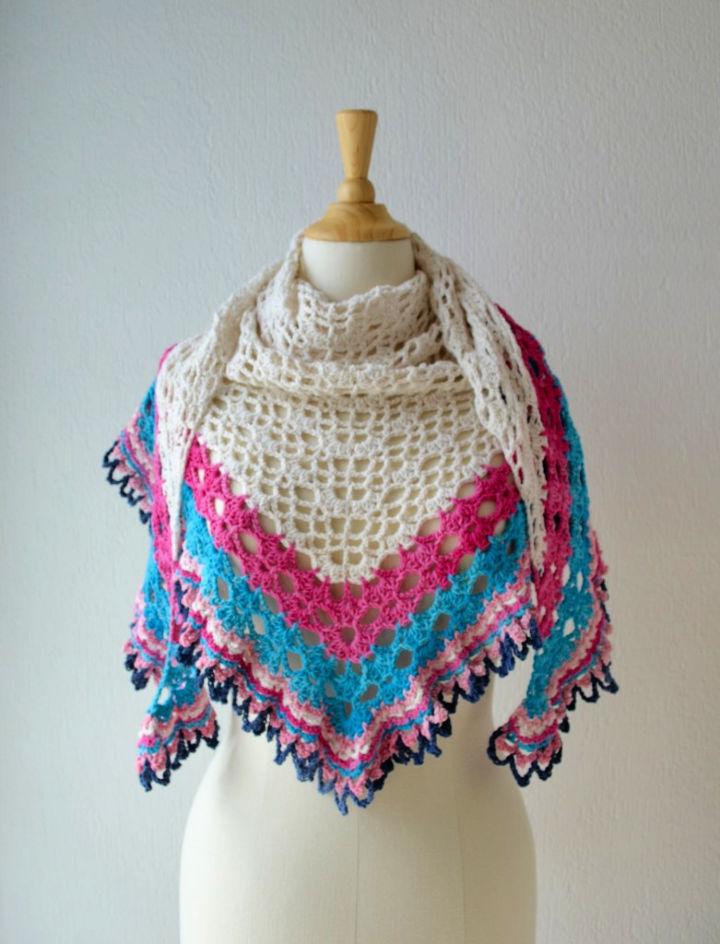
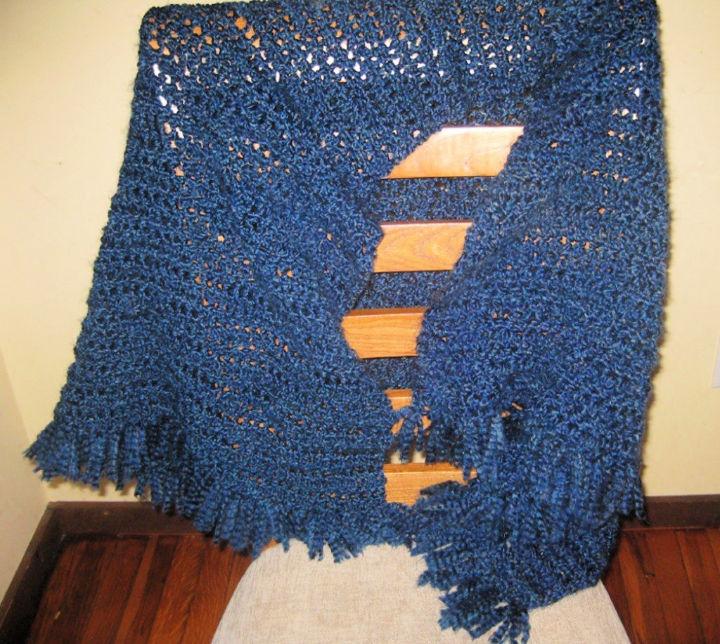
2. Easy Crochet Marciana Lace Prayer Shawl
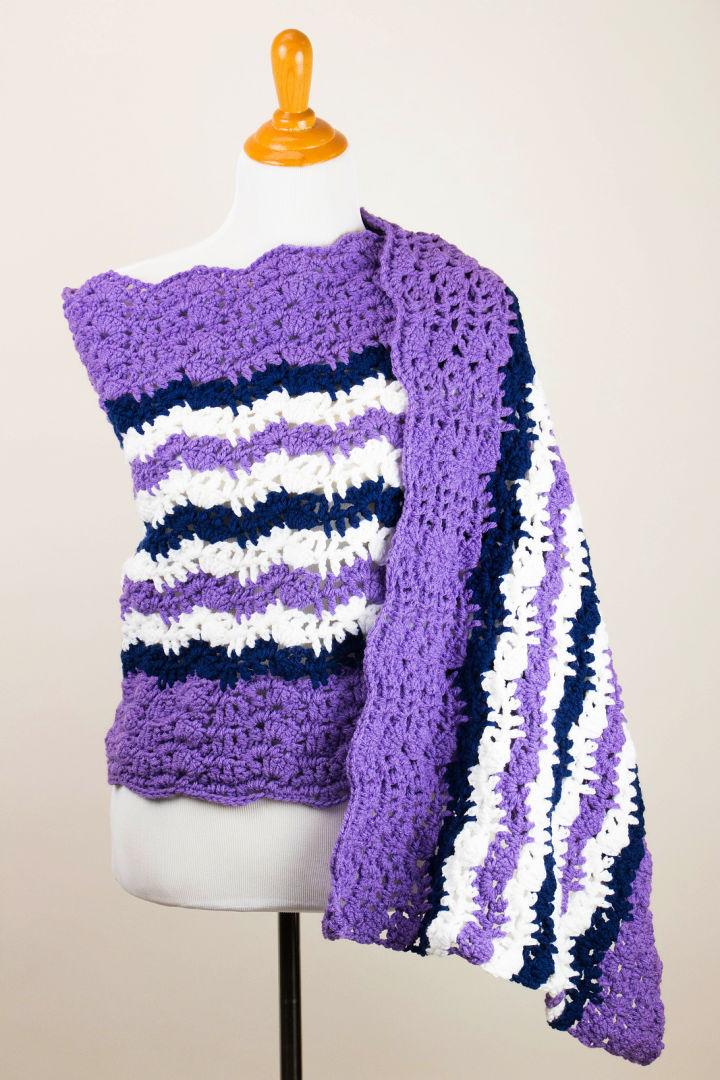
Check out here another pretty version of crochet prayer shawl that is to crochet with Red Heart with Love yarn and you need almost 270yds of this yarn. Croche this yarn in lilac, navy and white color while using 5.5mm crochet hook to get this precious shawl made. You need an easy skill level to whip up this beautiful prayer shawl having finished adult size 68.5” wingspan and 20” height. The perfect gauge for this pattern is, 17 sts and 7 rows make 4” of this shawl. Details here undergroundcrafter
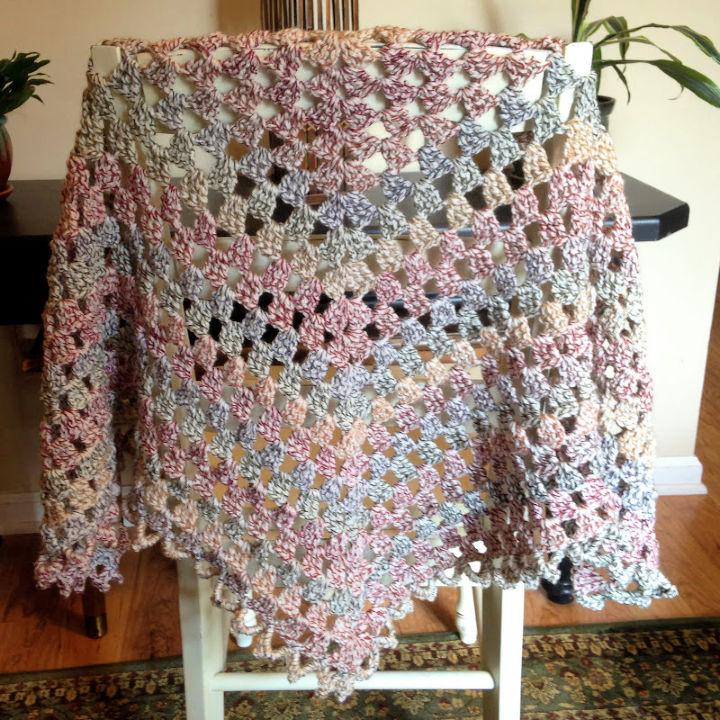
3. Cascading Shells Crochet Prayer Shawl
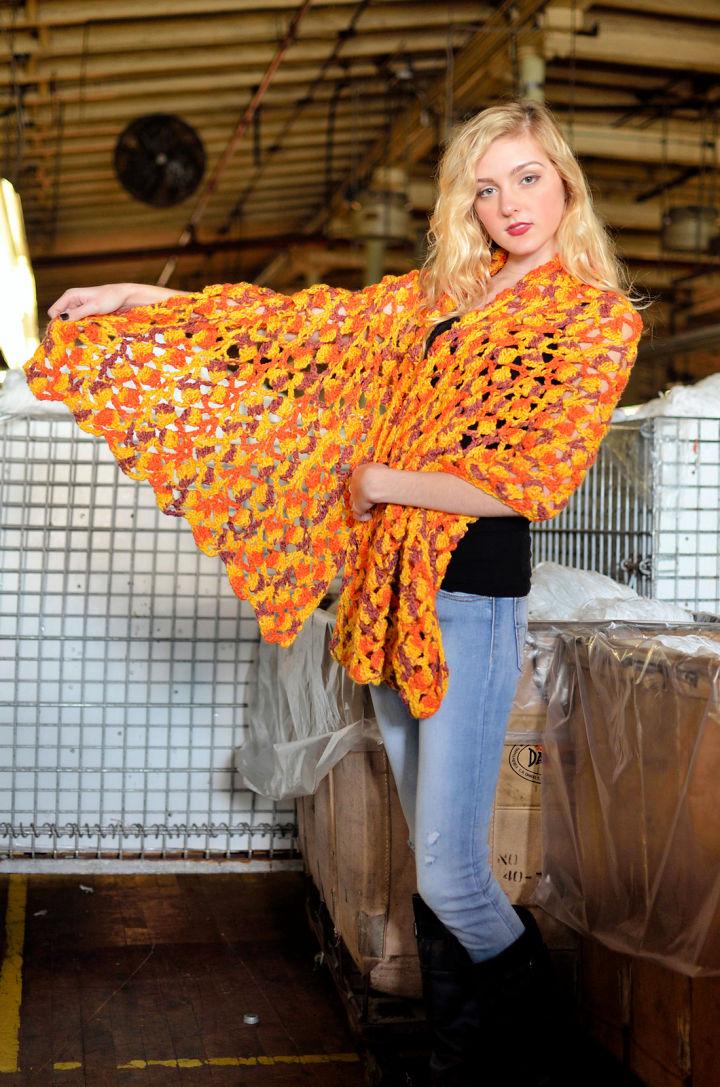
This shawl is heart winning due to brilliant design pattern and openwork. The very required skill for this enchanting crochet shawl pattern is the cascading shells pattern stitch. Crochet 5 skeins of Florafil Helenium Mardi Gras Super Soft Cotton yarn with a 5.5mm crochet hook to whip up this crochet shawl. The Completed adult size of this shawl is 22” wide and 56” long. With easy skill level, easily crochet this shawl for your spring closet while using an I-hook size. Details here madeinamerica
4. Crochet Butterfly Stitch Prayer Shawl
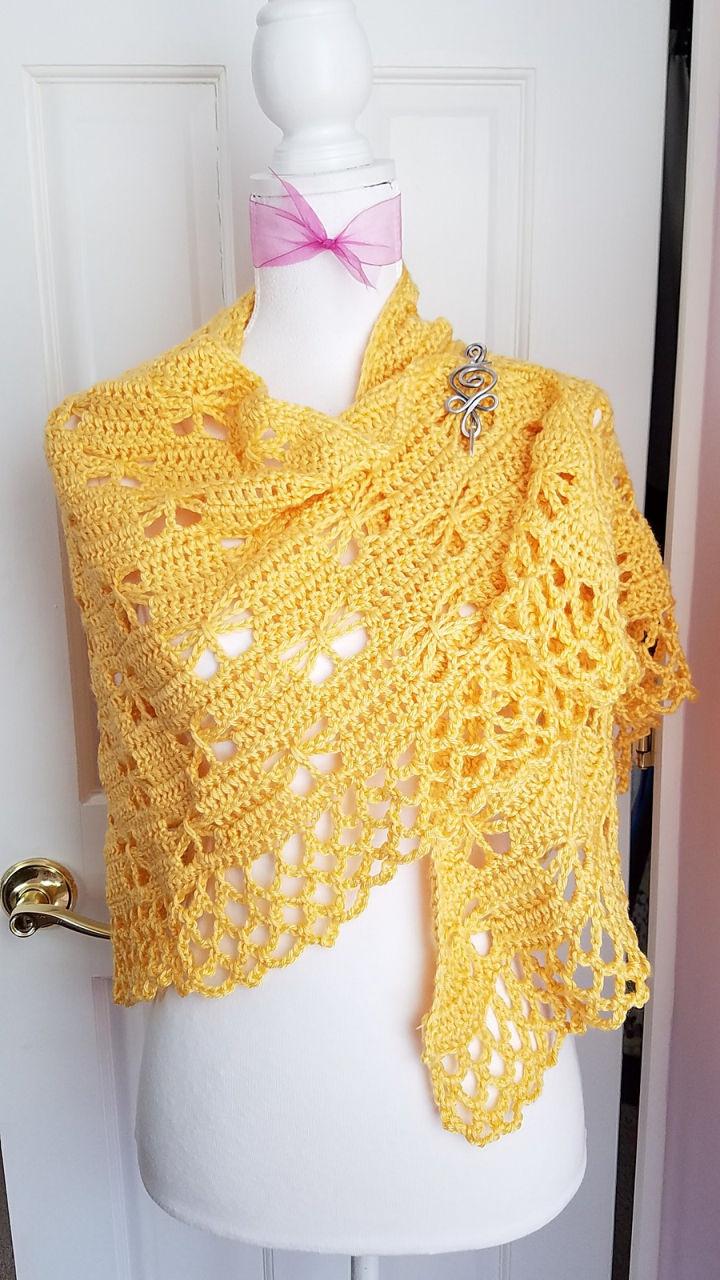
This pattern is a bit lacey due to the butterfly openwork motif that is repeated throughout the design. Crochet the Patons North America Lace with a 3.5mm hook to get this beautiful prayer shawl made. You need total 498-660yds of this yarn to get an adult size of this shawl made beautifully. The amazing butterfly pattern work makes this shawl super unique and it will make a sweetest handmade gift too. Must add this lacey shawl or wrap to your spring or summer wardrobe. Details here ravelry
5. Free Crochet Prayer Shawl Pattern
Feel free to crochet this prayer shawl, super gift-worthy, and praiseworthy due to enchanting design pattern. What makes it super special, is the smart color combination. Crochet the Scheepjeswol Softfun and Softfun Denim 60% cotton and 40% acrylic DK weight yarn to hook up this shawl. Use the 4mm crochet hook and make the foundation by making a magic ring. Next, work in the primary crochet stitches and also in special stitches like picot stitch, dc2tog, and cluster stitch to whip up this flawless crochet shawl pattern. The gauge is not critical for this crochet shawl pattern. Details here eng vicarno
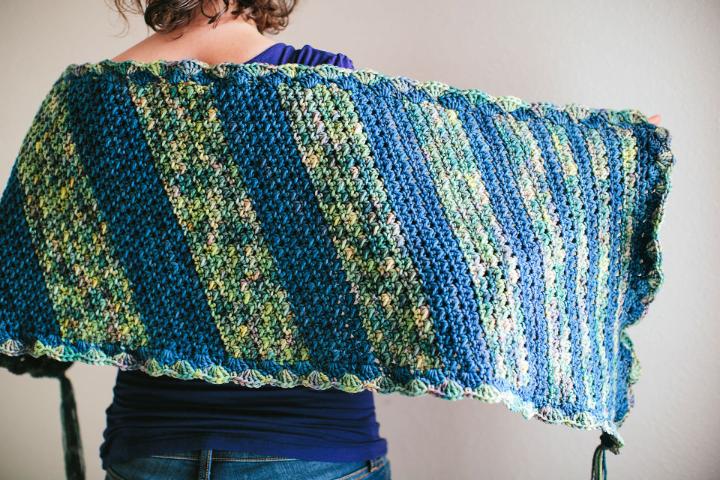
6. Reversible C2C Prayer Wrap
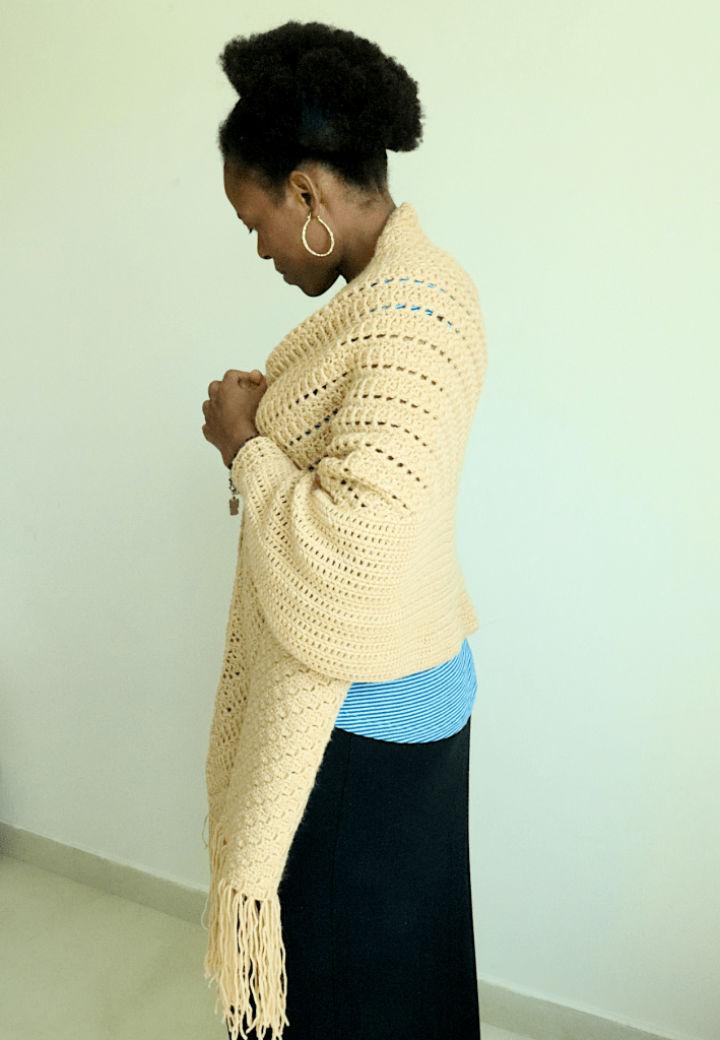
Use different crochet techniques to develop unique designs of shawls that will stylishly update your winter wardrobe. Work in the corner to corner crochet pattern and whip up this reversible prayer wrap will add a graceful layer of fashion. This crochet shawl is both a wrap and cardigan and enchants with the fringed ends. The complete size measures 21” wide and 66.5” long. The gauge for this pattern is 7 rows of c2c make 4”. Crochet 6 balls of Paintbox Simply DK, DK medium weight 3 yarn in light caramel color to whip up this prayer shawl. Work with a 4.5mm hook and HDC2Tog and DC2Tog special stitches to whip up this prayer shawl. Details here loopinglymade
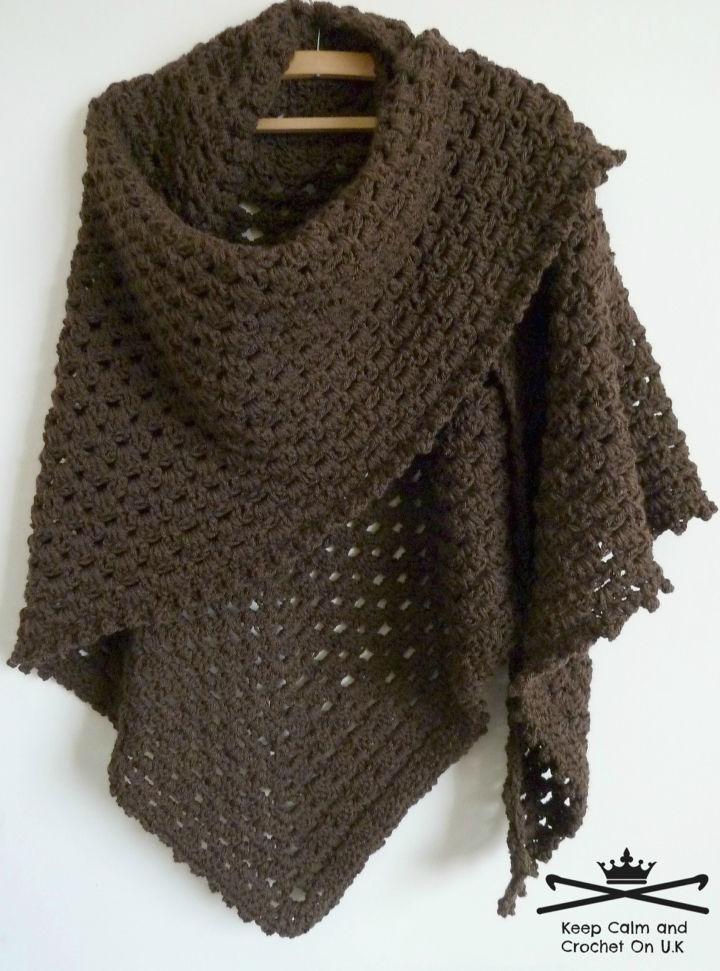
7. Crochet The Power Of A Prayer Shawl
Is one of your friends going through hard, dark, and sad times? Then do cheer him up with this prayer shawl, will provide the power to face that difficult time. The special stitches used to stitch this shawl are the trinity stitch and single crochet. Crochet 400g of medium weight 4 worsted yarn with a 5.5mm hook to hook up this shawl measure 14”x 47” dimensions. The gauge for this shawl is 12 rows and 16 sc are equal to 4”. This prayer shawl is one of the super beginner-friendly crochet patterns. Details here fireflyhook
8. Bernat Prayer Shawl Crochet Pattern
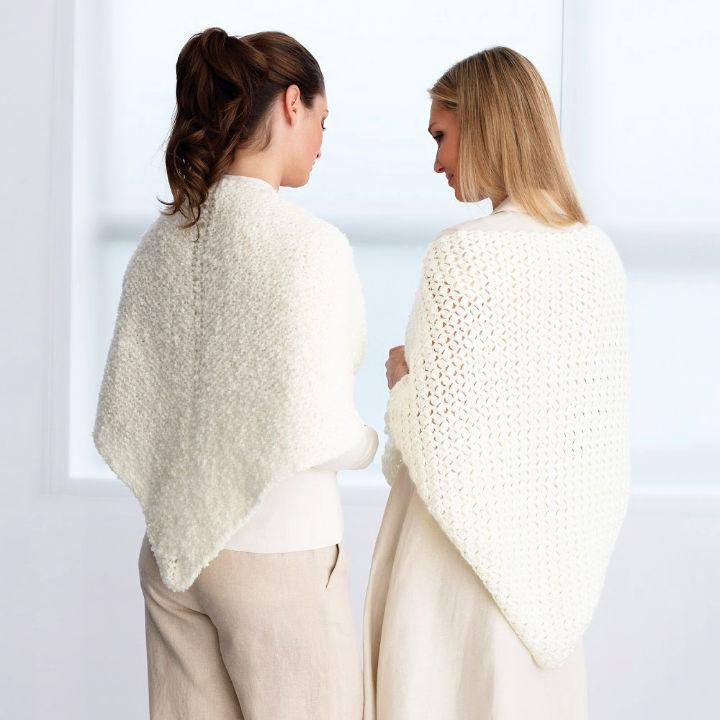
Wear this prayer shawl over the shoulder during the morning prayers or in the hard time when you are stressed. It will be a total relief and comfort. Crochet it at home using Bernat Satin yarn, 4 ball will be enough for the 61” wide and 31” deep size of the shawl. Use the 5.5mm crochet hook to stitch this shawl and calculated gauge will be 12 sc and 13 rows are equal to 4” or 10cm. This free crochet shawl pattern is also super beginner-friendly. Details here yarnspirations
9. Crochet Margaret’s Hug Healing Shawl
The shawls are not merely for the fashion, they help with healing too when going through hard and dark time. If your friends is stressed, then you can gift them too to that friend for instant relief. Get here a free pattern for making this Margaret’s hug healing shawl, will rock for morning prayers too. Crochet 1500-1700yds of DK weight yarn with a 7mm hook to whip up this one of the coolest crochet shawls. The required gauge for this shawl is 3 dc make 2.5cm. Details here ravelry
10. Crocheted Trinity Prayer Shawl – Free Pattern
Face your hard time with this prayer shawl, the perfect triangular trinity shawl with accent picot edging. Use it as a wrap in the chilly evenings, and you have to work mainly in the treble stitch to hook it up. Crochet this shawl is fairly easy. In supplies, you need 2 skeins of Hobby Lobby, I Love This Yarn in madrigal color, crochet them with 6mm hook to crochet this brilliant prayer shawl. The required pattern gauge is, 4 groups and 5 rows make 4”. The finished size of this shawl is 52” wingspan and 25” length. Details here aprilsarchives
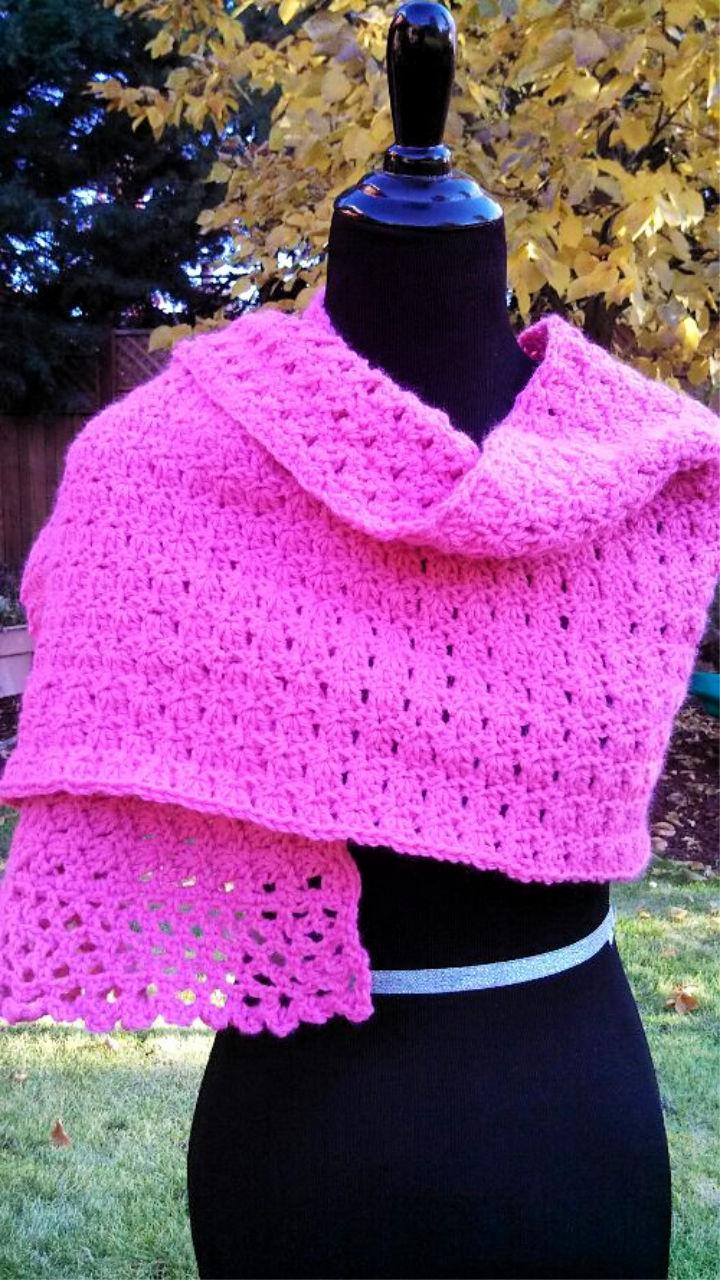
11. Prayer Shawl Pattern
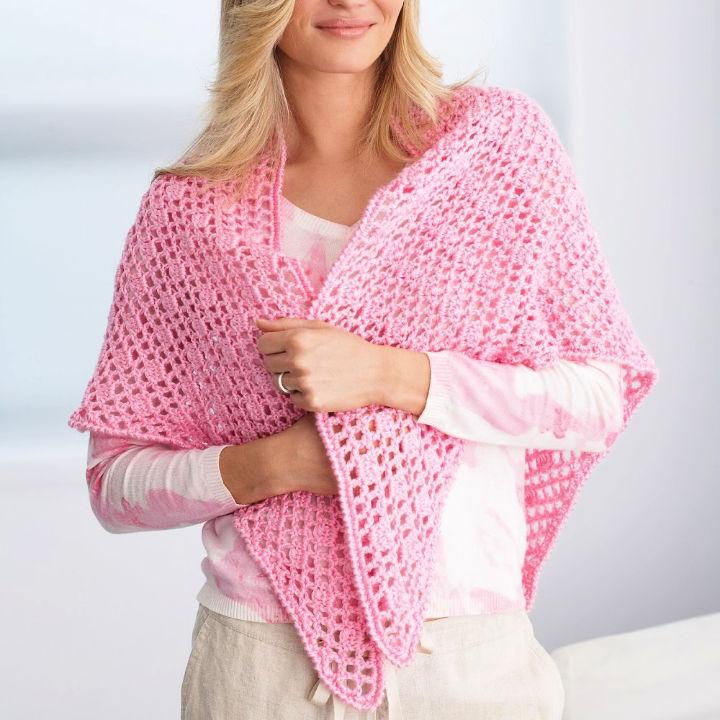
Wrap your friend comfy while he is going through a stressed situation using this prayer shawl. With an easy skill level, you need 5 balls of Bernat Satin Yarn to make this flawless crochet shawl. Hook up this yarn using a 5.5mm hook and complete a 57” wide x 31” deep size of this shawl, will rock for an adult lady. The gauge calculator for this shawl pattern is 7 sps and 6 rows make 4” of this shawl. This shawl comes in enchanting pink color and features a little lacework. Details here yarnspirations
12. Amazing Grace Prayer Shawl – Free Crochet Pattern
Is your friend is sad? Then do gift this prayer shawl to him/her, will be like a sweet and warm hug and also like the encouraging conversation. This shawl will help your friend to easily come out from the hard time and you need 1020-1500yds of sport weight worsted yarn to crochet this shawl. Use the Lion Brand Pound of Love in Bubble Gum color for this shawl, crochet it with a 5.5mm crochet hook. The required gauge for this prayer shawl is, 6 double crochet x 3 rows are equal to 2” x 2” of this shawl. The finished size of the shawl is 60” x 15”. Details here beatriceryande
13. Big Sky Prayer Shawl Crochet Pattern
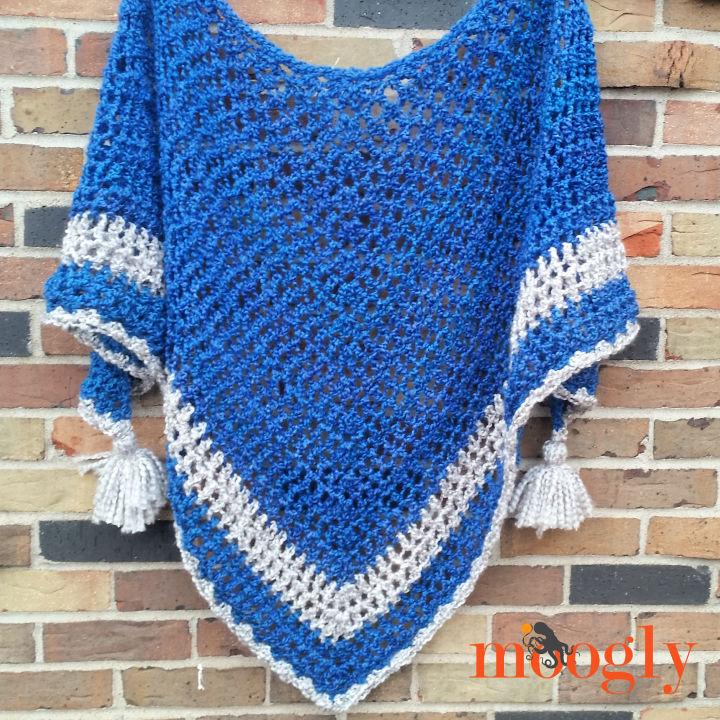
Help yourself in getting the clearest sky of your life by removing the clouds of sadness by making this prayer shawl. It will make you say the prayers comfortably and whole-heartedly. Crochet 350yds of Lion Brand Homespun Bulky 5 yarn with a 15mm hook to complete this crochet shawl pattern. The shawl features two colors, montana sky and clouds and has the finished size 65” W x 32″ L x 54″ long sides. The required skills for this crochet shawl pattern are magic circle and standing double crochet. The gauge for this prayer shawl is, 5 sts and 3 rows are equal to 4” in dc. Details here mooglyblog
14. Free Crochet Anna’s Shawl Pattern
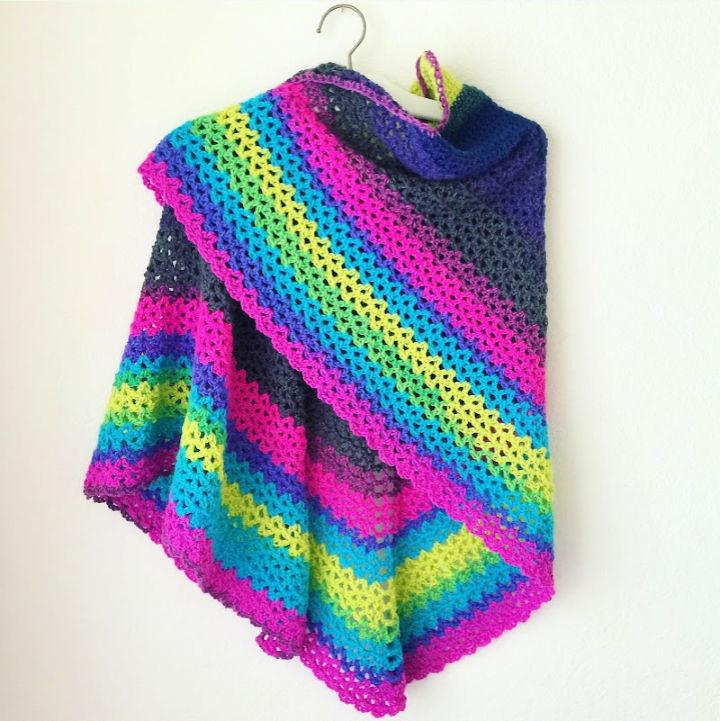
Help yourself in a hard time with this comfort Anna’s prayer shawl that is enchantingly colorful. It will bring warmth and comfort to your friend’s shoulders cheering him/her up. Crochet 2 skeins of Lion Brand Mandala yarn in colors of choice while using a 5.75mm hook. The completed adult size of this shawl measure 60” wingspan and 31” center span. The pattern is great for both advanced beginner and intermediate skill levels. The very suitable gauge for this pattern is, 15 sc and 18 rows make 4” or 10cm. Details here kountingsheep
15. Free Crochet Shawl – No Stopping Me Now
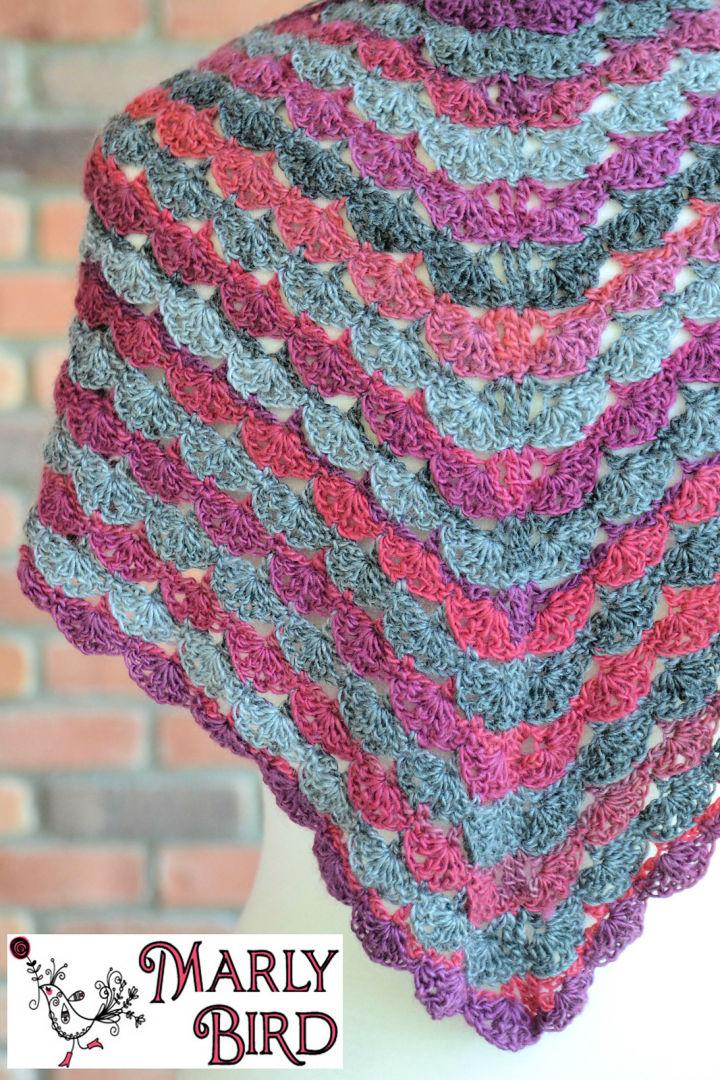
This fancy crochet shawl measures 20” center span and 41 ½” wingspan and will make the best prayer shawl for your morning prayers. Crochet 100% acrylic Red Heart Boutique unforgettable yarn in colors of choice to hook up this very interesting shawl pattern. For this adult size of shawl, the 269yds will be enough. The gauge for this pattern is 4 shells are equal to 4 ¼” across in shawl pattern. The amazing texture of this shawl demands to work in the shell and cluster special stitches. Details here marlybird
16. Gentle Solace Prayer Shawl Pattern
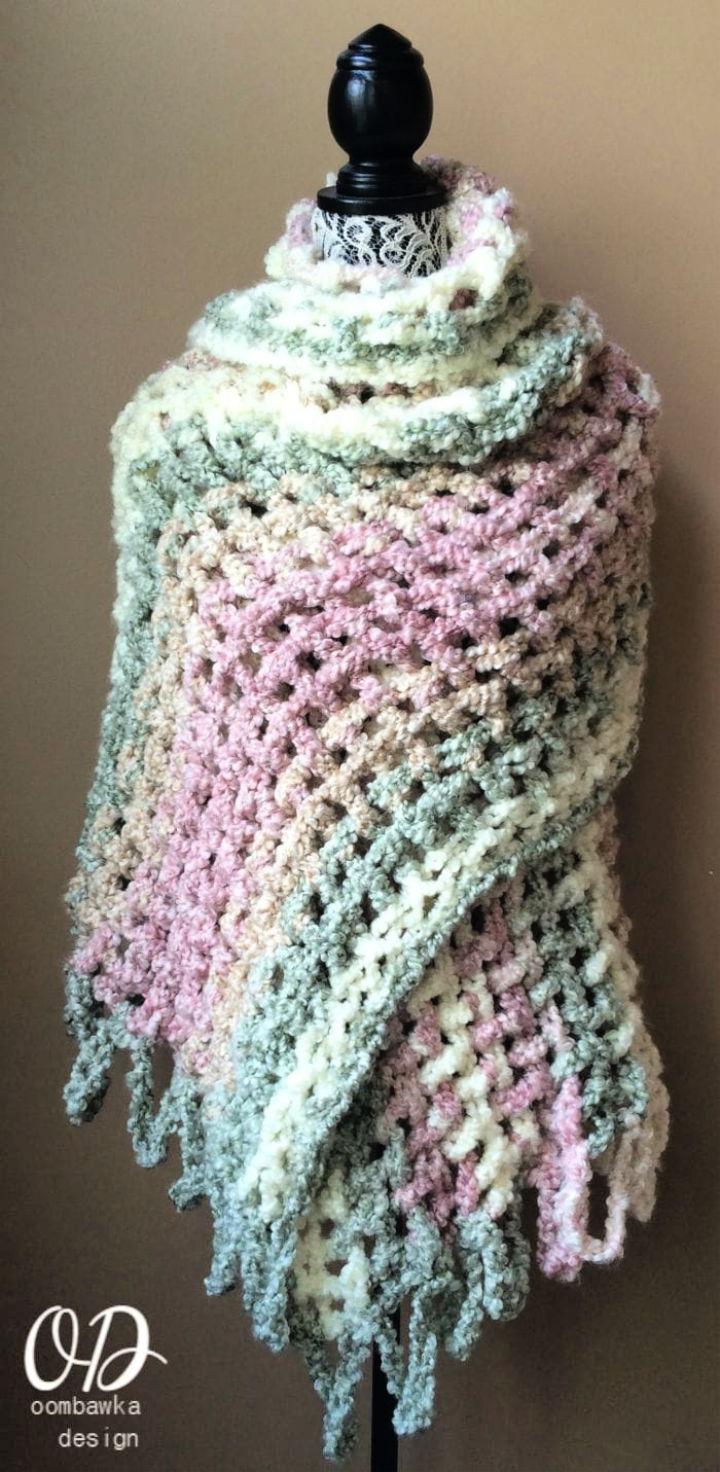
One more beautiful pattern of crochet shawl to crochet with Lion Brand yarn. Get your hands onto 536yds of Lion brand Homespun Thick and Quick Stripes yarn with a 15.75mm crochet hook to make this gentle solace prayer shawl. The Front Post Double Crochet and Back Post Double Crochet are the special stitches to use in this epic shawl pattern. The accent edging all around increases the size 10” from all sides. The calculated gauge for this shawl is 1.15 sts per inch. The finished size of this shawl is 24 inches x 52 inches. Details here oombawkadesign
17. Crochet Durable Friendship Shawl Pattern
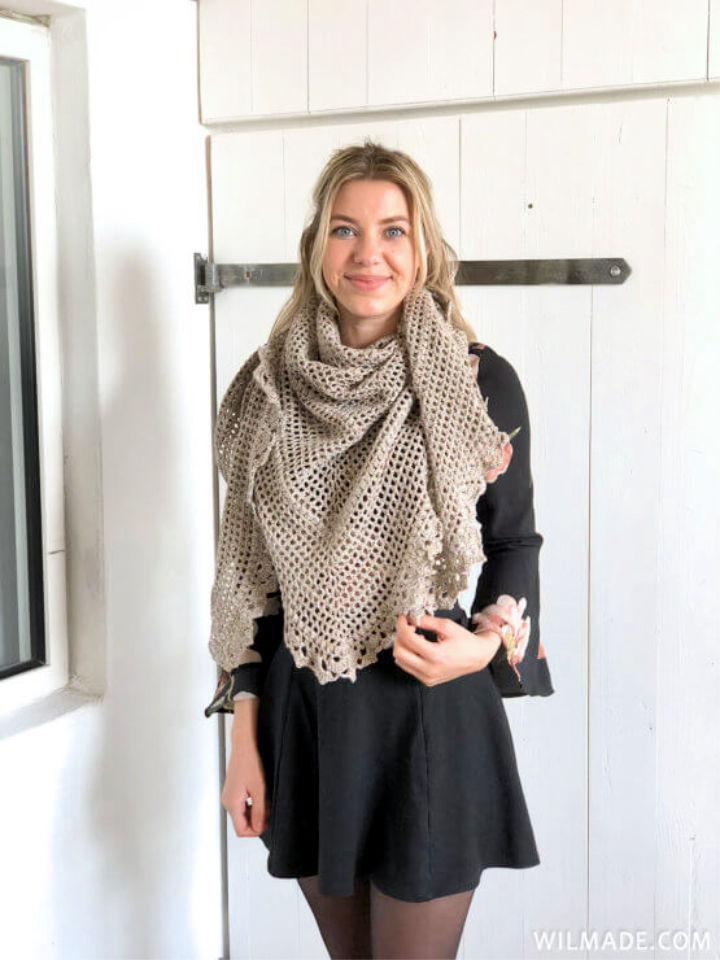
You have to crochet the Durable Forest Yarn for this friendship shawl pattern, other Lion Brand Yarn alternatives are given in the pattern. Crochet 5 skeins of Durable Forest yarn with a 4mm hook to whip up this friendship shawl, comes with totally impressive mesh style design texture. The finished shawl is 33” tall and 70” wide, but you can adjust the size with the provided guides. The recommended gauge for this shawl pattern is 10 rows equal to 4” of this shawl. The special stitches used in this pattern are picot stitch and puff stitch. Details here wilmade
18. How to Crochet a Prayer Shawl
Bring tons of comfort to your praying routines by making this lovely crochet shawl. The idea yarn for this shawl will be Lion Brand Homespun Yarn that will soft and thick, making this shawl durable and adorable. Crochet 3 skeins of this yarn with a 10mm crochet hook and quick get this shawl. It will wrap around your shoulders gently while praying. Gift it to a sad friend will make him/her feel like an encouraging hug. The fringed edging makes this shawl a lot more beautiful. Details here feltmagnet
19. Easy Crochet Shawl Pattern
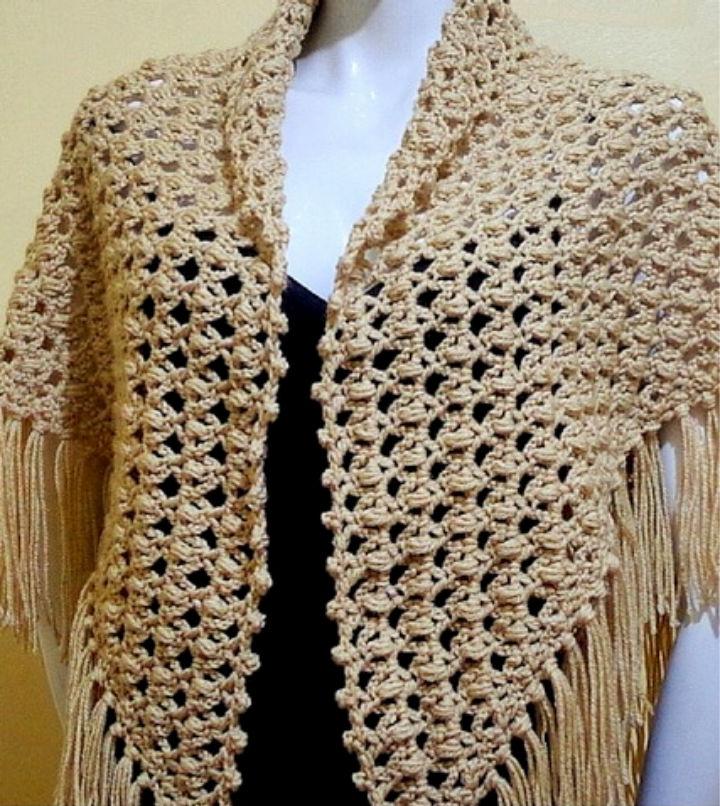
Do wonders with your beginner skill level, and crocheting this good looking shawl is one of them. For this shawl, crochet 650yds of Buff and Red Heart Worsted Weight 4 yarn while working with a 5.5mmhook to get this fabulous prayer shawl made. The adult size of this shawl is 60inches across the 31” from top to bottom. The measurements will be higher if you include the tassels, giving it lovely decorating edging. The V-stitch, picot, and puff stitches all come together for the adorable texture of this shawl. The gauge for this pattern is 7 sts, and 2 rows of DC’s are equal to 2”. Details here girliescrochet
20. Blessings Ombre Shawl Crochet Pattern
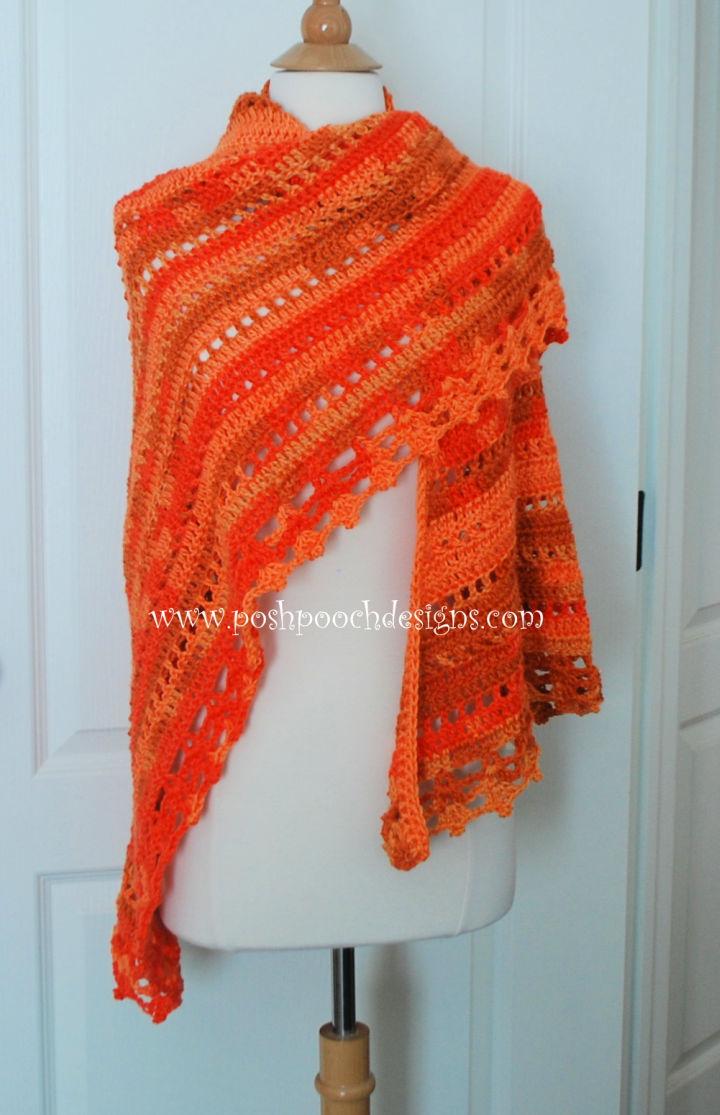
This adorable crochet shawl will pair up beautifully with your jeans and any cool dress, and a style lover can wear with warm winter sweaters and tops too. Grab the Caron Simply Soft Gold Ombre Yarn to whip up this bright shawl pattern that will rock for Thanksgiving get together too. Crochet 1020yds of above-mentioned yarn while working in the picot special stitch along with basic stitches to whip up this ombre blessing shawl. The finished size of this beginner crochet shawl pattern is 60” wide and 40” long. Details here poshpoochdesign
21. Free Crochet Shawl Granny Pattern
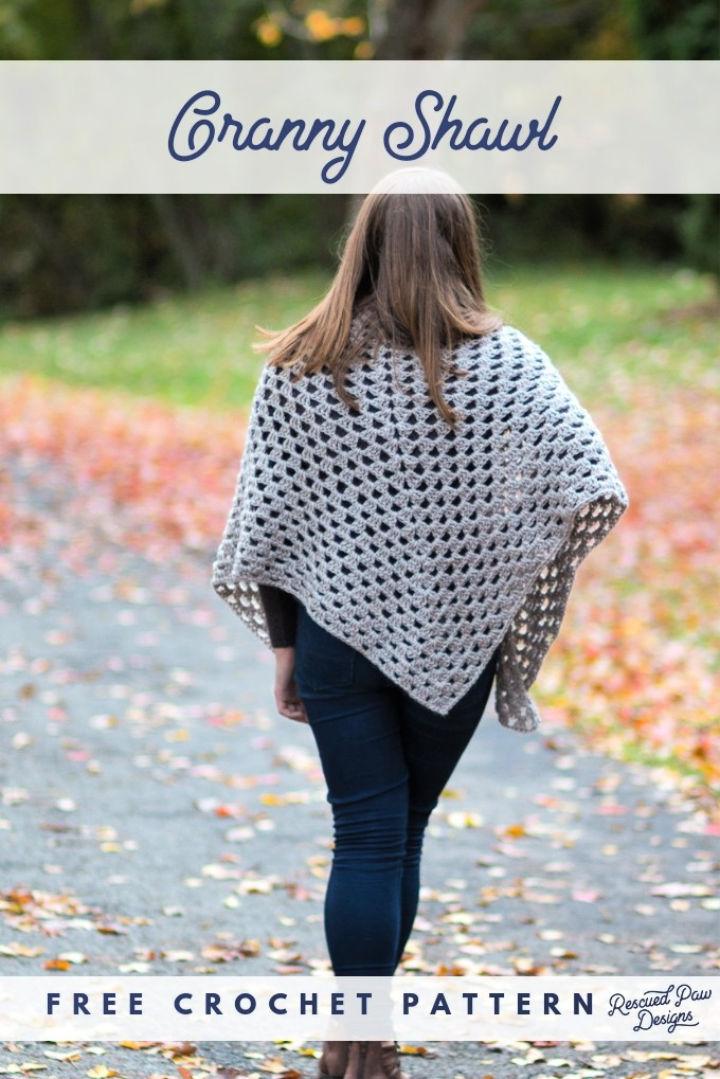
Embrace and celebrate your life more with this summer blessings shawl, has a much attention-grabbing design. It features the attention-grabbing mesh-style openwork that is all due to the granny stitch. Crochet the Touch of Alpaca Yarn 90% acrylic and 10% Alpaca fiber to work this shawl up. It will drape nicely over your shoulders and front, making your feel warm. Pray it over when making a one, will surely make you look gentle. The size 6mm hook will be perfect for this granny shawl pattern. This shawl is 68” wide and 32” from top to bottom, and the perfect gauge for this granny shawl is 3 dc equal to 1”. Details here easycrochet
22. Crochet Butterfly Prayer Shawl
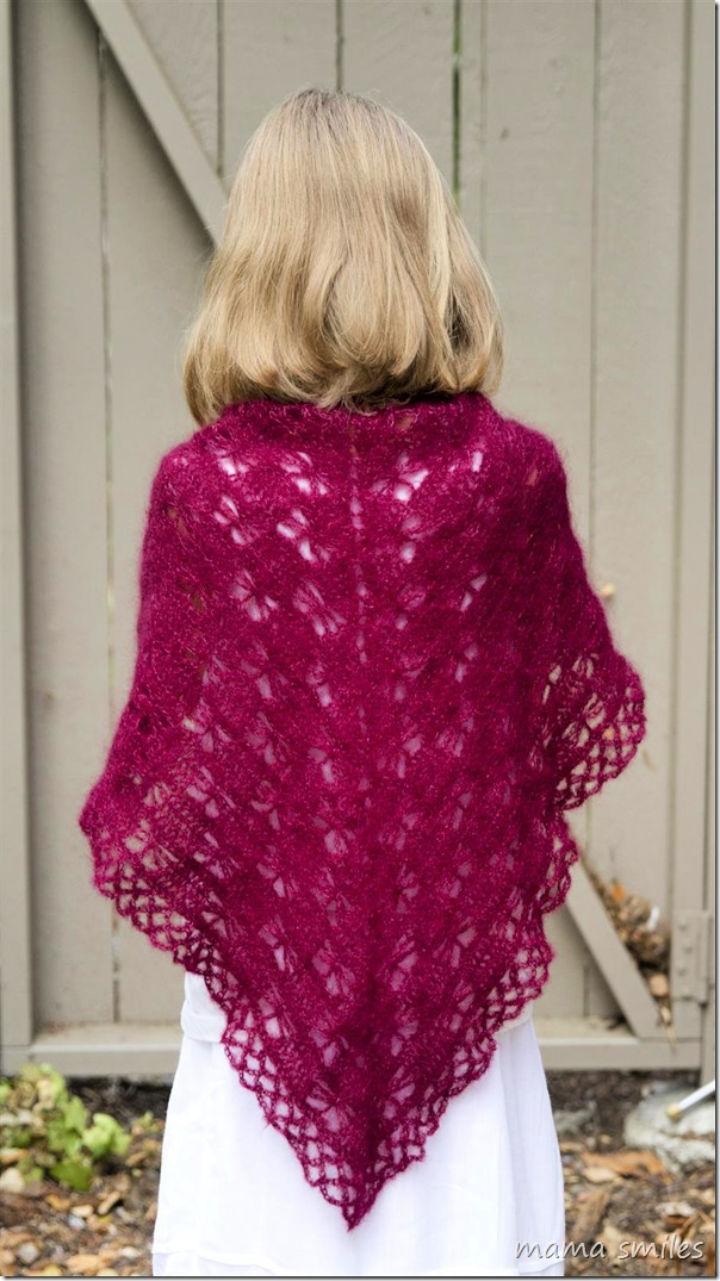
Feel more comfortable at the summer morning prayers by wearing this best looking blessings shawl. The shawl gains attention from the beautiful butterfly design. Crochet it with the Debbie Bliss Angel Mohair -Silk yarn while using a matching hook, will be the coolest addition in your winter fashion wardrobe. Use this shawl to feel comfortable in the chilly evenings or to look gentle during the praying sessions. Encourage a sad friend by giving this prayer shawl as a handmade gift, and it will rock for summer fashion too. The pattern is totally beginner-friendly. Details here mamasmiles
23. Free Prayer Shawl Crochet Pattern
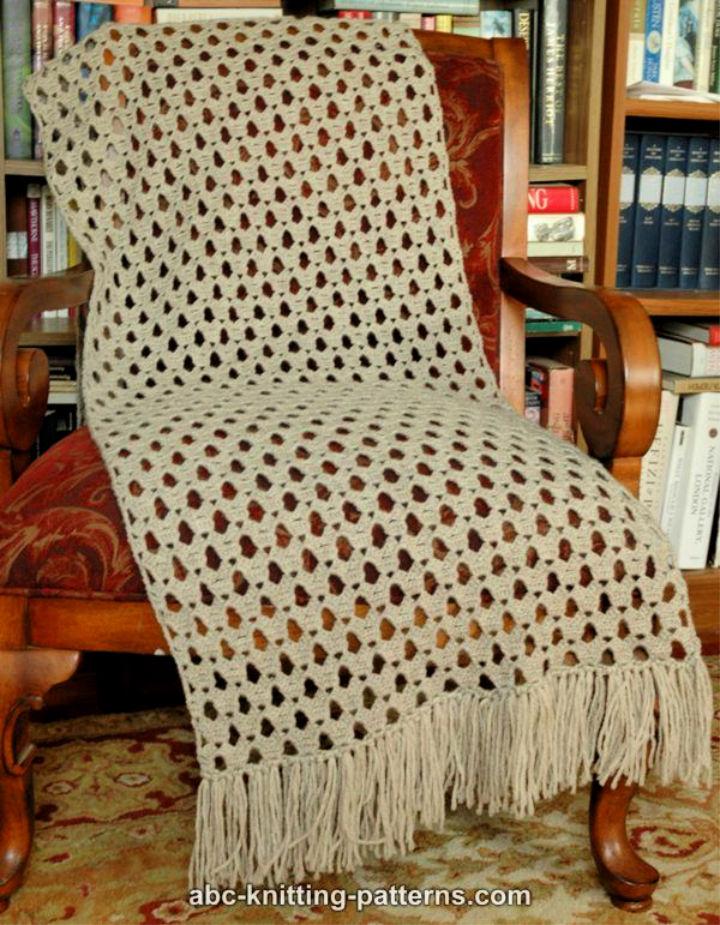
Clone this one more mesh-style design of crochet prayer shawl that is lacey and will allow great air circulation. This makes it a perfect summer shawl that one can wear during a hard time while making prayers. Crochet 24” x 76” size of this shawl using 100% Wool Lion Brand Fishermen’s Wood Yarn. Crochet total 465yds with a 5mm hook to whip up this crazy crochet shawl. Select the oatmeal color of yarn for this shawl. What makes the design a bit more interesting and boho-inspired, the fringed edging. The calculated gauge for this shawl pattern is 5 pattern repeats are equal to 8”. Details here abc knitting
24. Prayer Shawl Crochet Tutorial
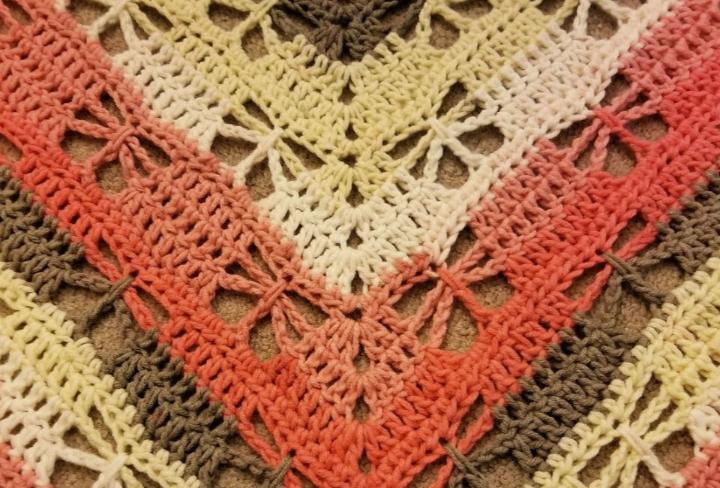
Get busy with your crochet hook and duplicate this one more praise-worthy design of prayer shawl, will spice up your wardrobe. This achievement is to do with the fabulous butterfly stitch. Crochet the Lion Brand Vanna’s Choice yarn in the colorway of terracotta and crochet it with a 5.5mm crochet hook to whip up this crazy crochet shawl. Start making the first row by giving a slipknot, and the rest of the pattern is also easy peasy. You can crochet this shawl with various other colors of yarn too. A one of the Free Crochet Prayer Shawl Pattern. Details here youtube
25. Crochet Caron Cakes Prayer Shawl Pattern
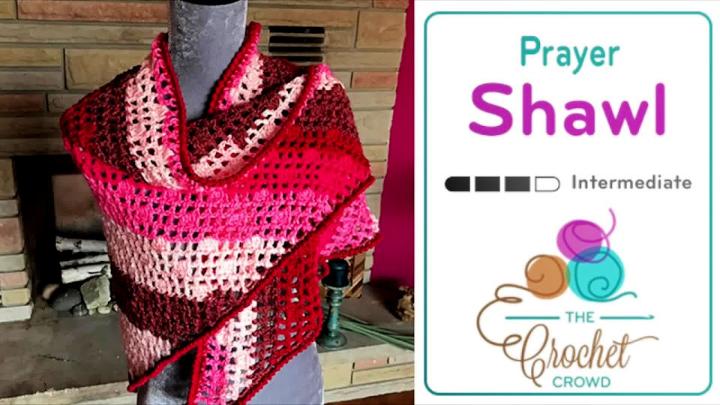
Are you a big fan of colorful things? Then you will surely like this crochet Caron Cakes prayer shawl, featuring lots of amazing colors. Here you need an intermediate skill level to whip up this enchantingly colorful prayer shawl, will hold your upper body warm too if worn as a wrap. The crazy model features a lacey texture making this shawl a bit more airy. Use the matching hook, and do get this shawl to enjoy the prayers more. Crochet it to give as a handmade gift to a friend going through a hard time. Details here thecrochetcrowd
Crochet Rugs: Try these beautiful crochet rug patterns to brighten up any room in your house! Let’s Stitch It Up Together!
Conclusion:
If you are always to look gentle during the prayers you are making during the hard time when feeling sad, then these free crochet prayer shawl patterns are for you. They will give you a sweet hug of love and help come out of his dark time easily and quickly. From simple to colorful, from lacy lightweight to chunky, and also from easy to advanced, there are all Free Crochet Prayer Shawl Patterns in this compilation that has been shared to impress and inspire. Feel free to crochet any of these shawls as they all come with comprehensive written and visual guides along with free crochet patterns.