Do you like baby Yoda? This unique baby Yoda crochet pattern FREE roundup can steal many hearts. If you have seen the movie, “The Mandalorian” you must have instantly fallen in love with the uber-cute character of Baby Yoda! These 20 free baby Yoda crochet patterns can help you express your love and connection to that adorable character. How? By simply turning to your favorite craft. Either make a soft and squishy baby Yoda crocheted fellow or walk another mile by whipping up an amigurumi baby Yoda! The choice is all yours. One thing is for sure; your kids are going to love bonding with this cute, big-eyed fellow and it might just replace the other teddy bears or stuffed toys they have!
A Free baby Yoda crochet pattern is easy to follow and will let you make beautiful products out of it. Star war fans are always there. And if your baby or you are a star war fan, try making one of these patterns for them! Baby Yoda is a straightforward character to be crocheted. Once you learn the basic pattern, you can crochet the character anywhere. You will need the basic crochet equipment and suitable yarn for this activity. From simple baby Yoda crochet pattern to Amigurumi, or cute little playful puppets, we have it all. Even a tiny little hatching baby Yoda as well as an enticing C2C applique on a blanket. Let’s get started.

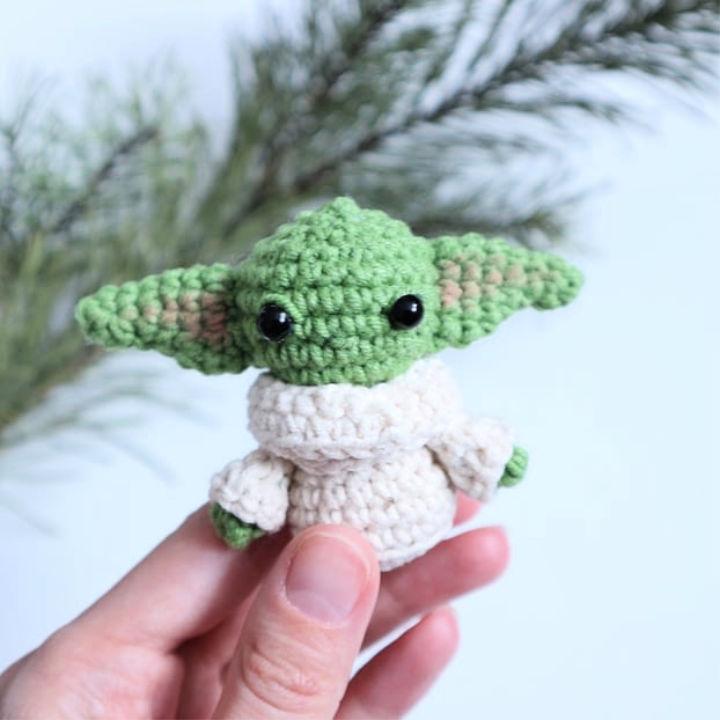
Try any one these free crochet patterns and you will automatically get a cute baby Yoda amigurumi for your kids.
1. Baby Yoda Amigurumi Crochet Pattern
Isn’t baby Yoda the epitome of cuteness and uber innocence? Check out this crochet baby Yoda amigurumi pattern. It’s not at all difficult! Even with your beginner’s skill, you can easily crochet it for your kids or anyone who loves Star Wars. The materials you will need are yarn, 15mm safety eye, 2.50mm crochet hook, scissors, and a tapestry needle. Download PDF Pattern
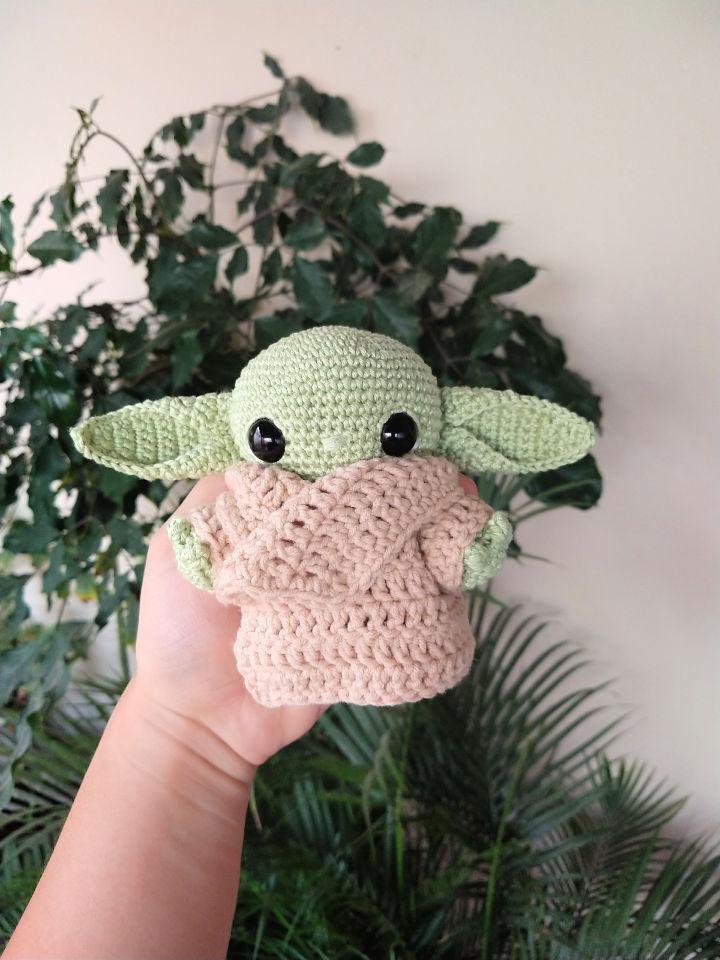
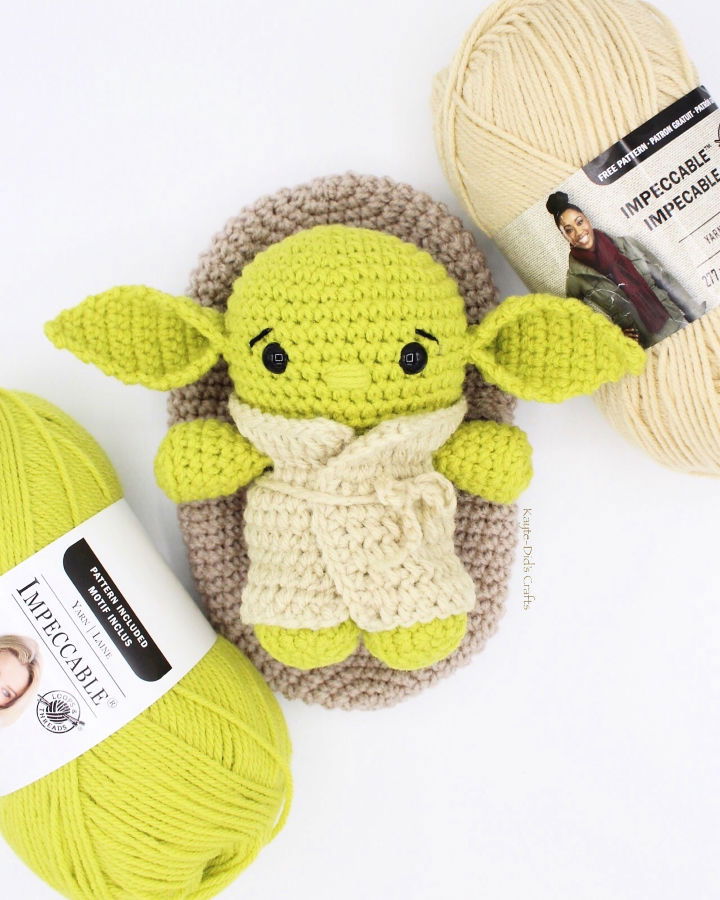
2. Baby Yoda Crochet Pattern
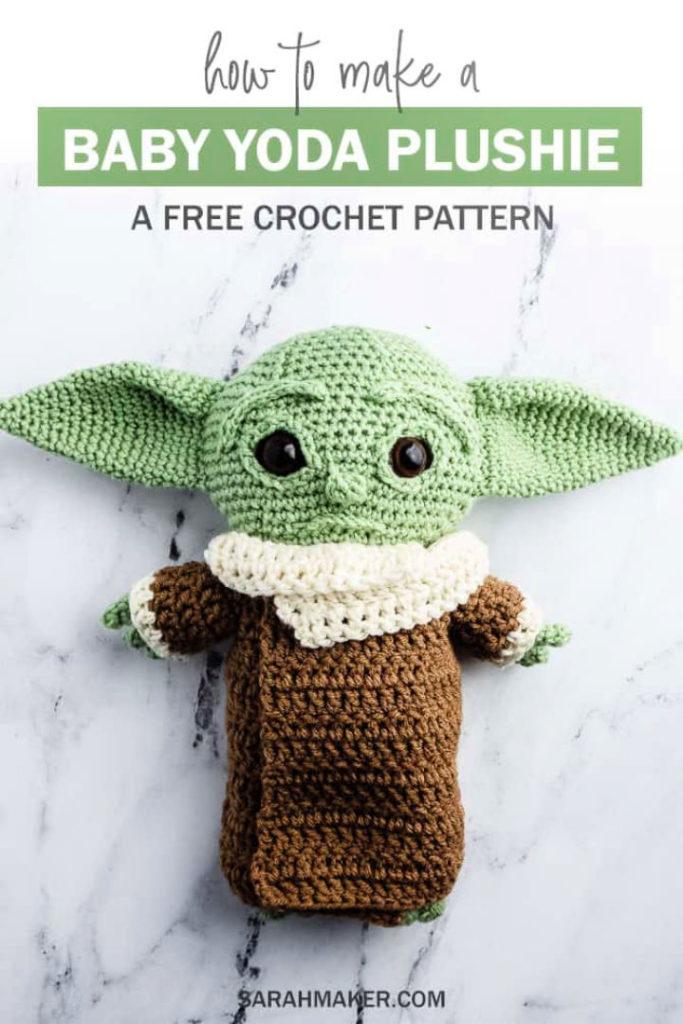
Keep your kids happily occupied outside the technology world, with no one other than the baby Yoda! Give yourself some relaxing time! So that you can do your home chores with peace. Check out the free baby Yoda crochet pattern and go along with the special stitches and techniques. You will be able to crochet it in an hour or two. sarahmaker
3. Baby Yoda Crochet Pattern Free
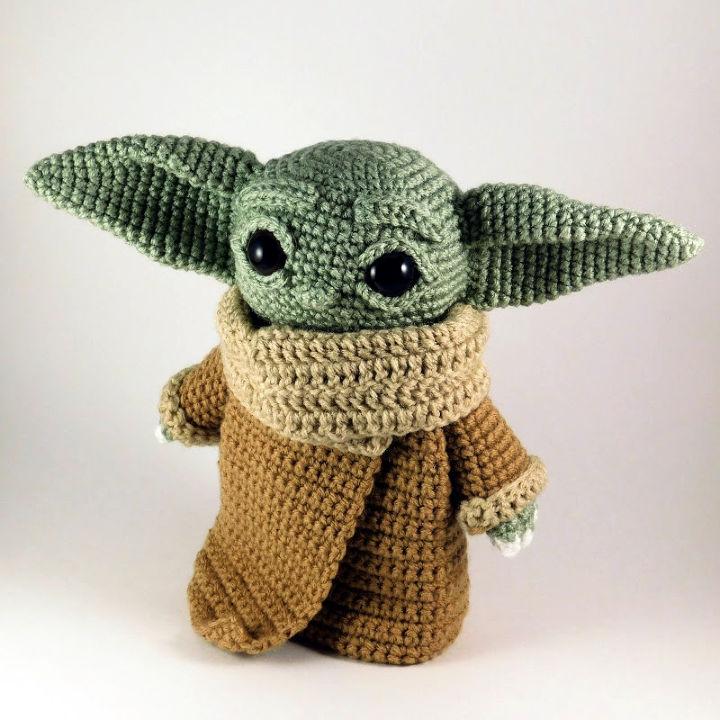
Who isn’t familiar with the Star Wars shows! This crochet baby Yoda amigurumi is inspired by that mysterious character. It is equally popular among adults as it is in youngsters. Grab the baby Yoda crochet pattern free alongside stuffing, safety eye, crochet hook, tapestry needle, stuffing, and scissors and get started. 1upcrochet
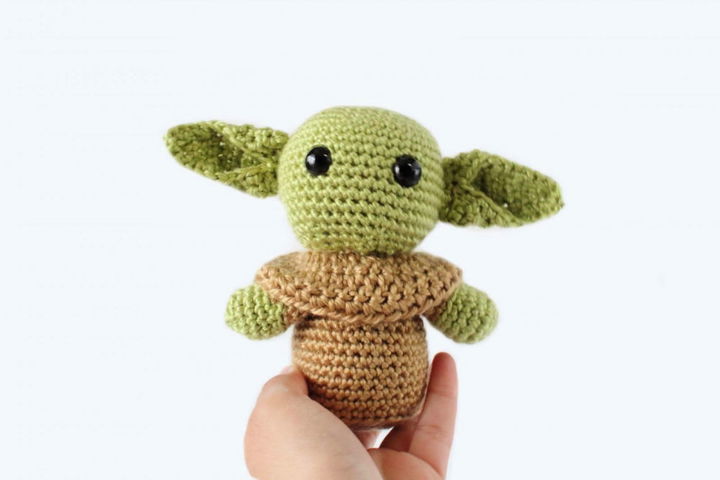
4. Baby Yoda Crochet
The fantastic thing about crocheting this baby Yoda amigurumi is, you have to work constantly in the round. It will make your crocheting journey way more fun and easy. Your finished amigurumi should measure around 8 inches tall so that your kiddos can easily hug them tightly to sleep. hookedonfandom
5. Free Amigurumi Crochet Patterns
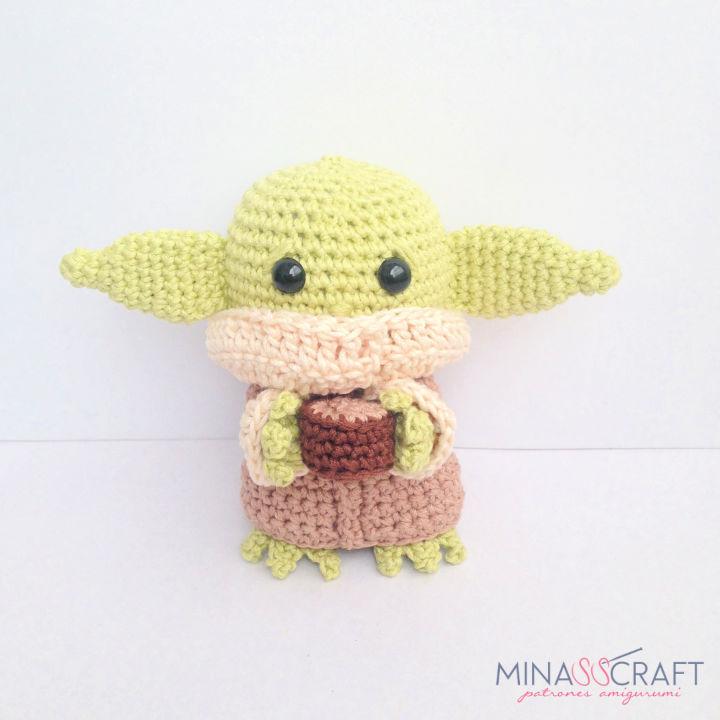
If you are up to crocheting a stuffed toy for your toddler, nothing is more straightforward than this crochet baby Yoda. Get all the help you need from this video tutorial! It will guide you comprehensively on how to coordinate your fingers with the tapestry needle and crochet hook to do it. minasscraft
6. Crochet Baby Yoda Pattern
Kill your boredom by DIYing something productive for the kids in your family. It is an excellent way of becoming their favorite aunt or big sister. Follow this baby Yoda crochet pattern free and spruce it up like a pro! Just by using supplies such as worsted weighted yarn, poly-fill stuffing, crochet hook, yarn needle, and thread. yayashooknyarn
7. Free Star Wars Yoda Amigurumi Pattern
Any Star Wars fans here? We bet even if you were not a fan before, seeing all those baby Yoda memes go viral on social platforms must have made you follow the series, anyway! Gather supplies for this little amigurumi delight including yarn balls, 3.5 mm hook and a few more supplies. amigurinos
8. Crochet Baby Yoda
If you are a beginner at crocheting, start your crochet endeavor from crocheting this baby Yoda. It is a teeny tiny project that won’t demand your lots of time or effort. But the final and finished look of baby Yoda will certainly capture many hearts! Hit the link to get the supplies details and get started. lucyravenscar
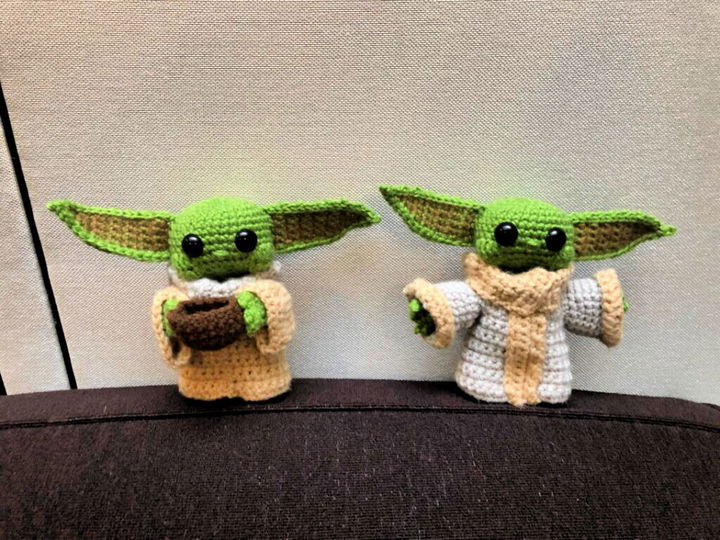
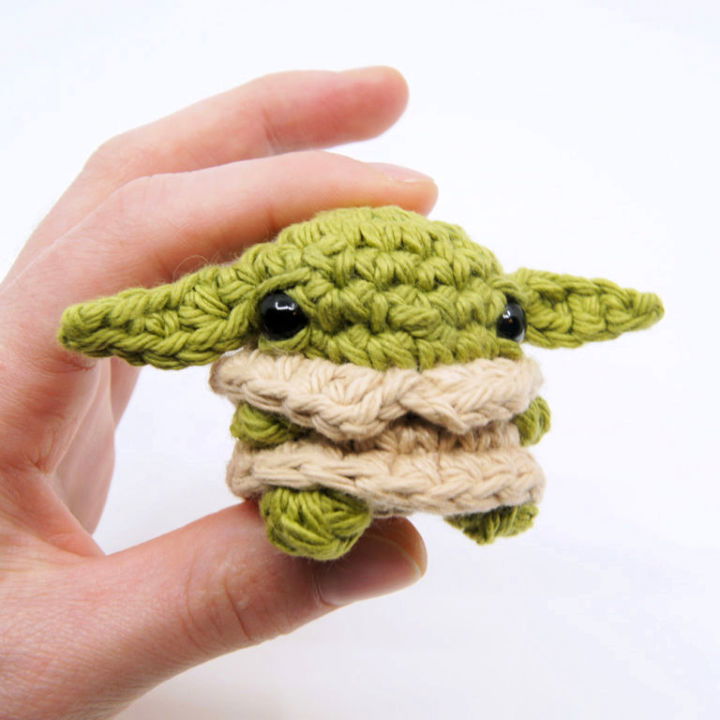
9. Baby Yoda Crochet Pattern Free

By using three different colors for the main baby Yoda character and his cape, as well as collar. This baby Yoda crochet pattern is all about details! It is quite an easy crochet to wonder that you must try your hands on! With just a few simple supplies and working in the round stitch, you will finish this project in just a few hours. ravelry
10. Crochet Baby Yoda Amigurumi Pattern
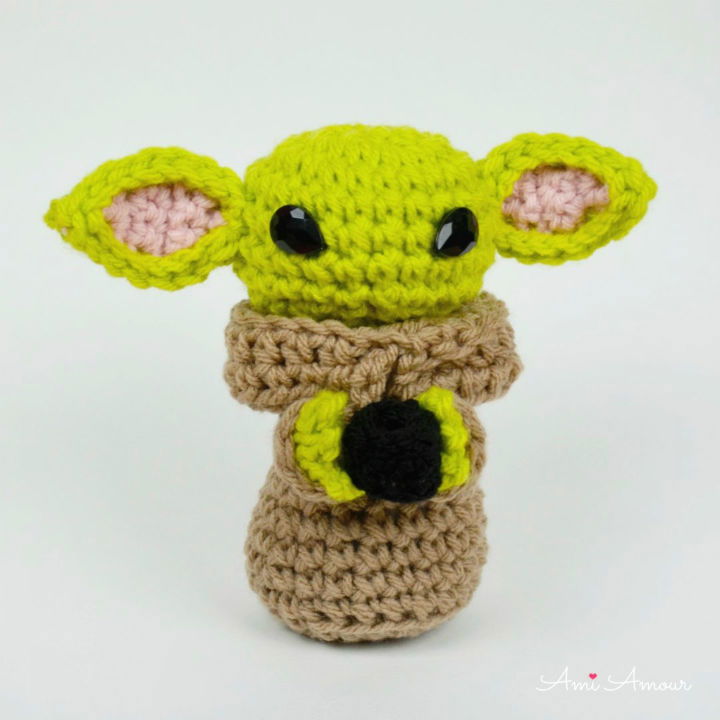
Remember the baby Yoda character from the movie ” The Mandalorian”. Time to crochet that little loving creature by yourself! The perfect thing or more like the twist about this baby Yoda is that where you sew the arms can totally change how one may perceive the character. See for yourself in the link, below. amiamour
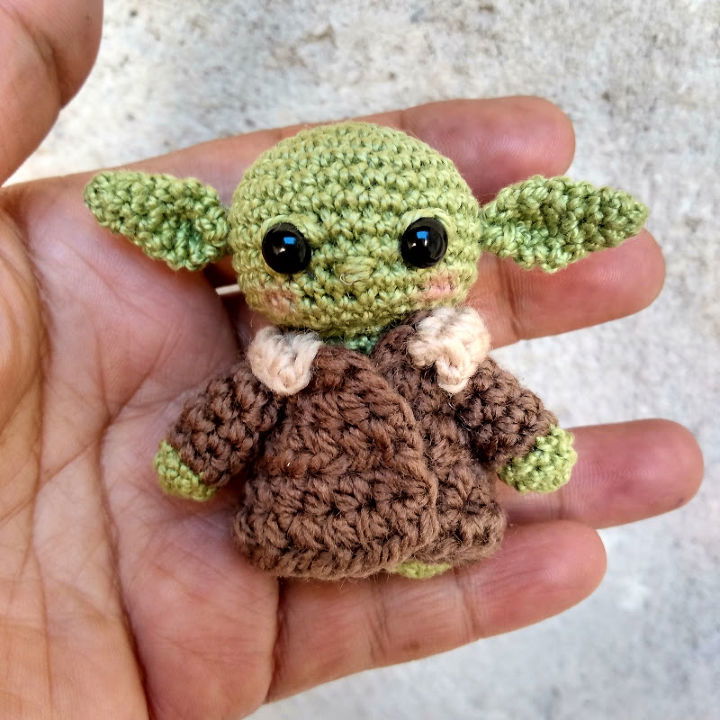
11. Baby Yoda Pattern
This crochet baby Yoda will be a great source of bringing joy to your toddler’s life. The video tutorial here will help you crochet it like a pro. Grab your crochet material box that must include supplies like green and beige color yarn, 4mm crochet hook, stuffing, and a needle. clubcrochet
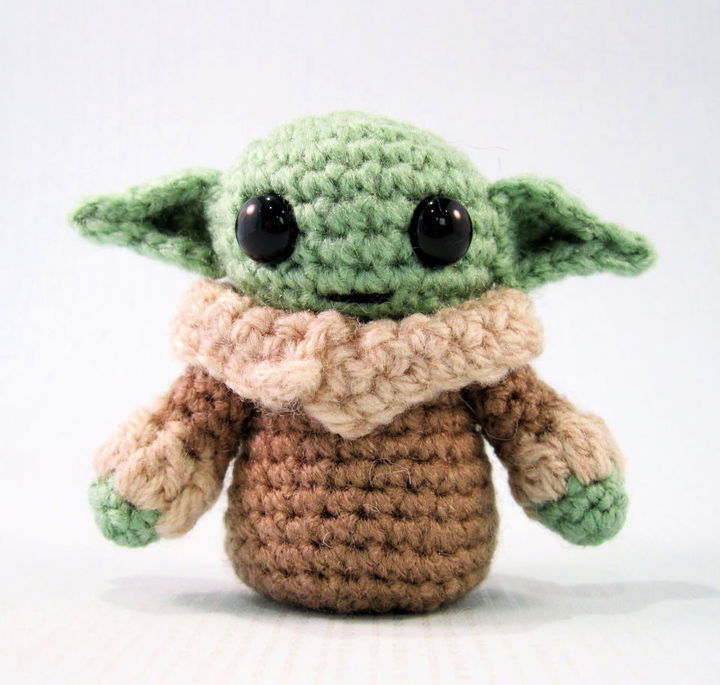
12. Ravelry Baby Yoda
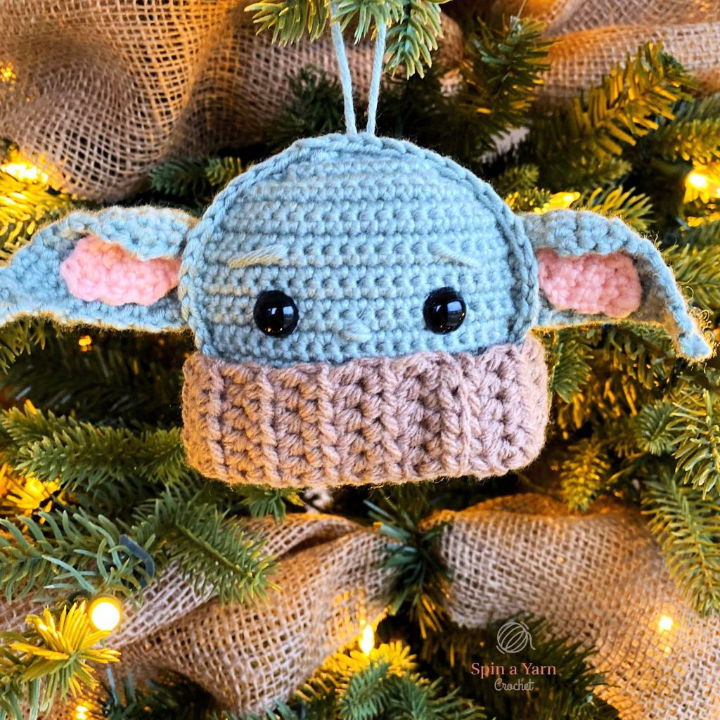
Happy kids mean a much happier home. Also, peaceful. Let’s not forget peaceful. Therefore, you must check out this Ravelry baby Yoda pattern on everyone’s (thanks to memes) favorite hot character ”baby Yoda” from Mandalorian. Follow it to crochet the amigurumi wonderfully and super quickly. So let’s get started! spinayarncrochet
13. Crochet Baby Yoda Amigurumi and Finger Puppet
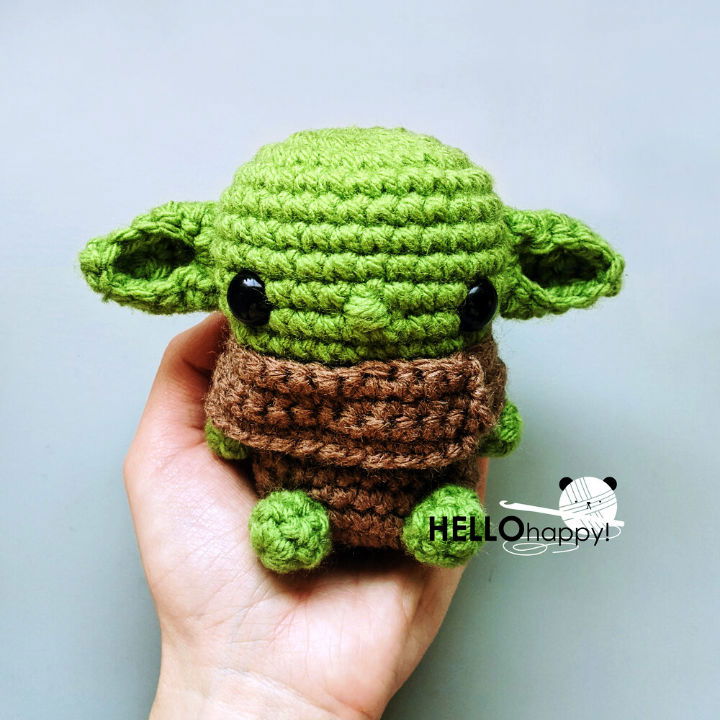
By following this free baby Yoda pattern, you can crochet this baby Yoda amigurumi and finger puppet all easily. Put your kids to sleep with the baby Yoda or tell them bedtime stories by beautiful and catchy stories using the finger puppet. With yarn, hook, safety eyes, and a needle, you are all set to crochet one. hellohappy
14. Hatching Baby Yoda Crochet Pattern
What’s cuter than a Baby Yoda? Definitely a hatching baby Yoda can make anyone go aww! If you didn’t watch the star war movies yet, this super cute baby Yoda hatching amigurumi would make you not watch it right away! The finished size, if you follow this baby Yoda pattern, will be around 13 cm. Download PDF pattern
15. How to Corchet Baby Yoda
If you haven’t watched the stars wars movie, you must have still come across all this hype about baby Yoda! It’s time to whip up one for yourself, your little ones or anyone you love or know who is a Star Wars fan. The free and downloadable pattern is all up for grabs in the link! Click now. theblueelephants
16. How to Crochet Baby Yoda

The size of this baby Yoda amigurumi is ideal for any beginner to try. The process also is too easy-going if you follow this free pattern. You will really enjoy crocheting it, and it can be done just within an hour. Besides yarn, you will also need materials like a crochet hook, needle, scissors, and stuffing. hisheepok
17. Baby Yoda Llavero Pattern
All this hype about baby Yoda is worth it!! Join the party and crochet this mini creature that is stealing everyone’s heart since the show has been out. It can be a perfect gif to someone who is a die-hard fan of this character. Use the necessary supplies and whip up this easily do-able baby Yoda crochet pattern! ravelry
18. Baby Yoda Blanket Pattern
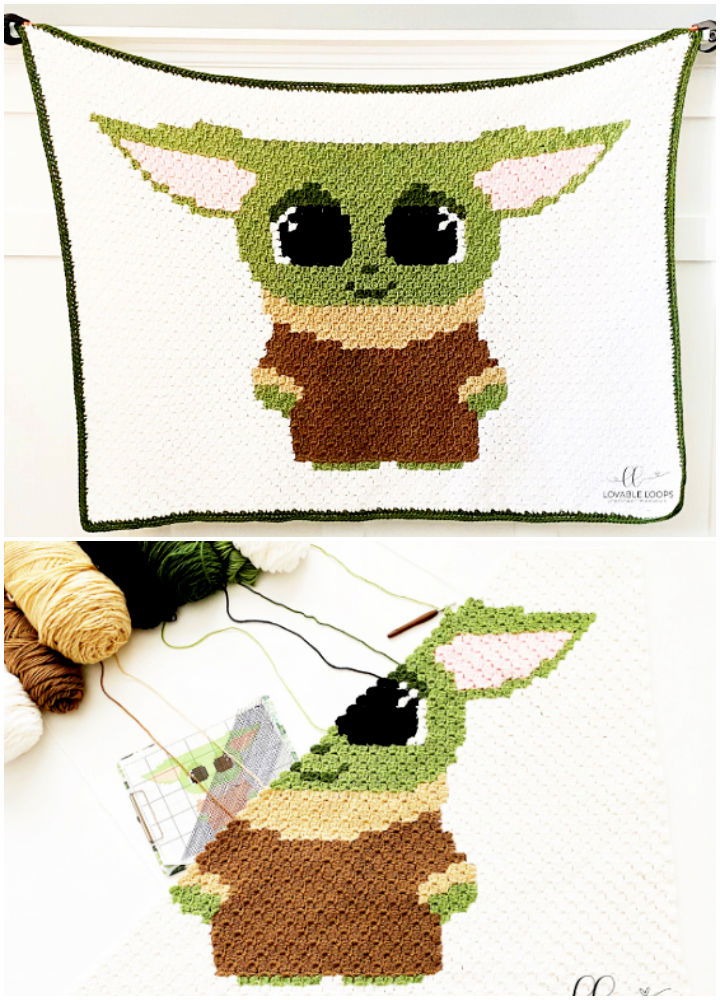
This baby Yoda blanket is an excellent gift to a newbie mom. It will certainly make a beautiful gesture and a meaningful gift! Use materials such as 16mm crochet hook, tapestry needle, worsted weighted yarn, pins for blocking, and blocking board. Don’t forget to get all the help you may need from this free blanket pattern in the link below. lovableloops
Note* This beautiful Baby Yoda Blanket crochet pattern completed using corner to corner (c2c) crochet!
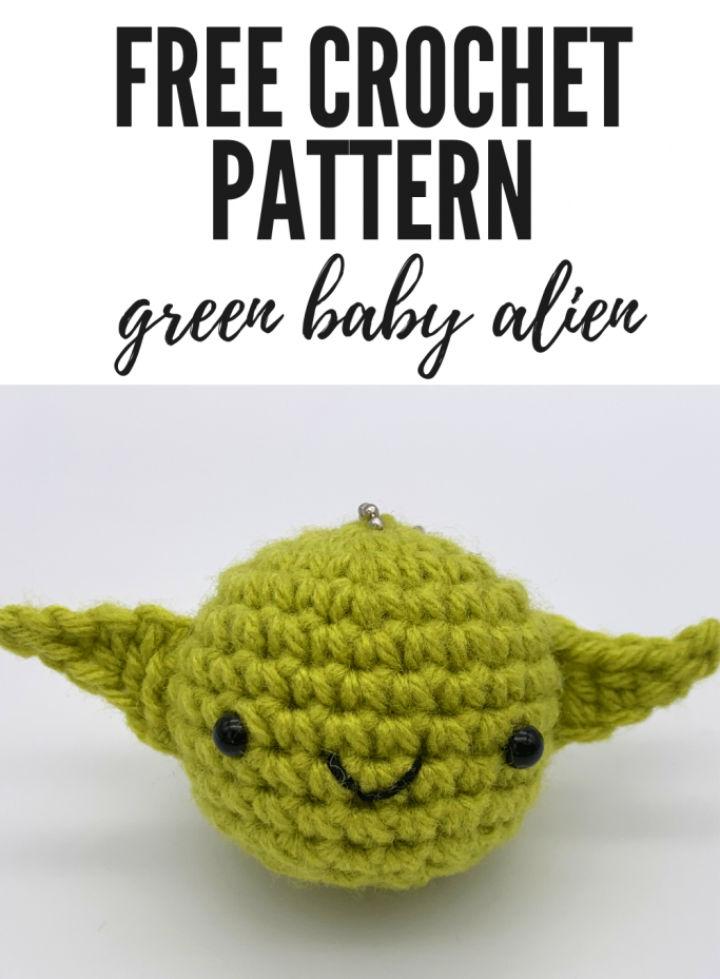
19. Free Amigurumi Patterns PDF
How about we interest you into crocheting a teeny tiny version of a baby Yoda? It will be just 6.5cm tall and can be easily hung in your keychain too! Easy to whip up in just an hour! Get your hands on the essential crochet tools and materials and get started! zenknit
20. Crochet Baby Yoda Amigurumi – Free Pattern
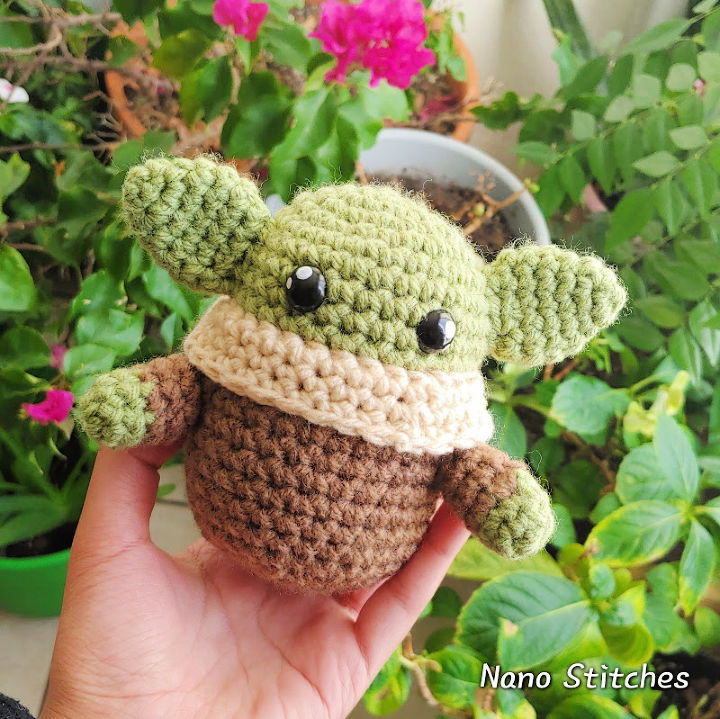
To all the crochet lovers out there! Presenting you a free pattern that will melt your heart just by crocheting it. It is the best last-minute gift to anyone you know loves amigurumis or stuffed toys. As all the pieces will be worked up in the round, so there are least chances of getting yourself stuck somewhere between. nano stitches
Conclusion:
If you have yarn, crochet hook, and tapestry needles, you can definitely try these Baby Yoda Crochet Pattern right now. If you don’t have the material, rush to the nearest store and buy them. Because crocheting a Baby Yoda pattern for your little one is a must. Crochet these for a friend, your nephews, niece or pretty much anyone. Something this tiny and adorable can also be pretty therapeutic to have by your side. So, really if you see, no matter the age. A baby Yoda can cheer up anyone! Get started.