Learn Crochet Stitches
Crochet Home Decor Patterns
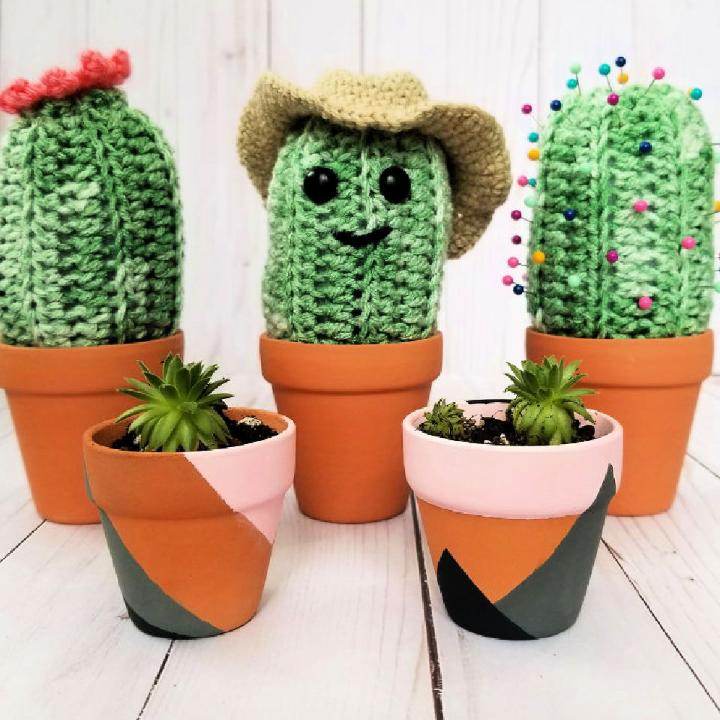
- 30 Free Crochet Cactus Patterns
- 20 Free Crochet Placemats Pattern
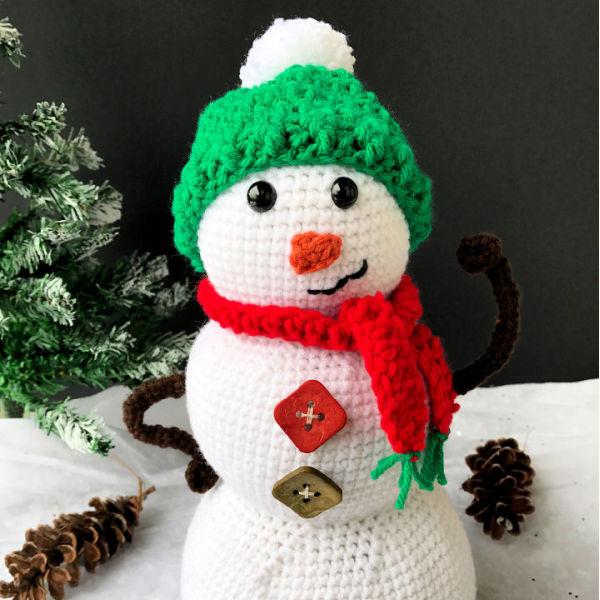
- 25 Free Crochet Snowman Patterns
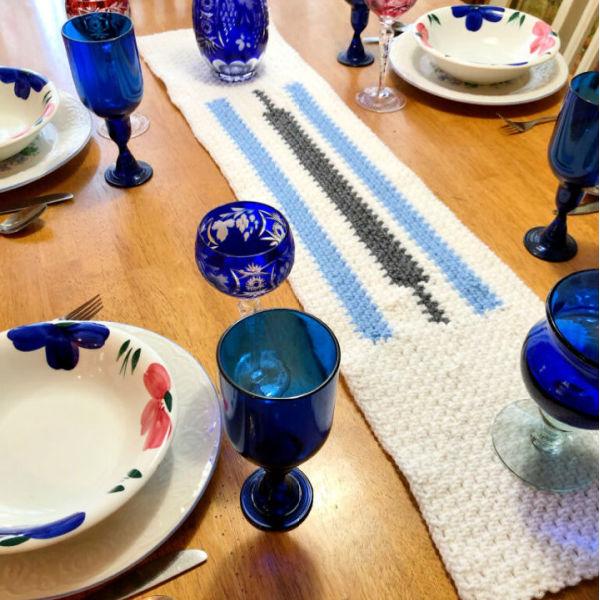
- 20 Free Crochet Table Runner Patterns
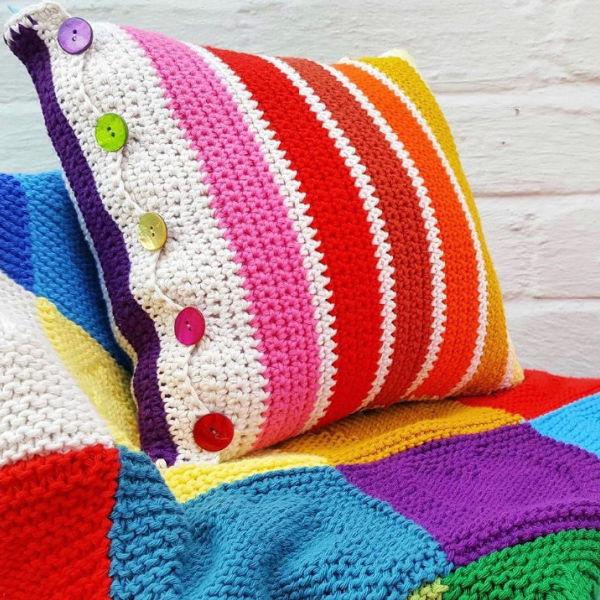
- 25 Free Crochet Pillow Patterns
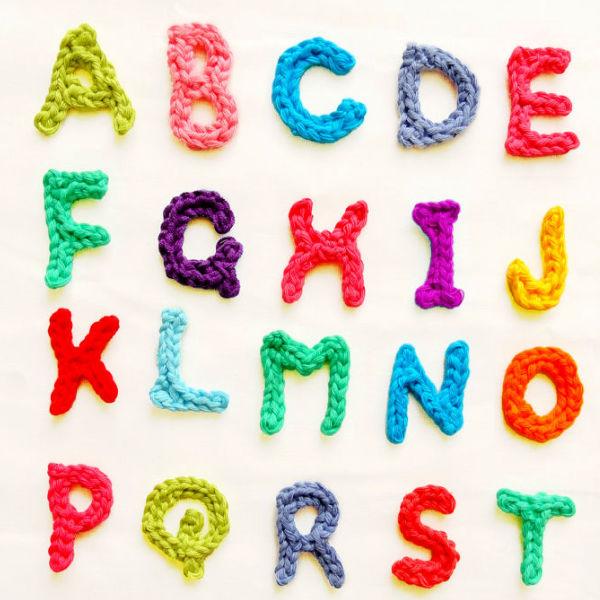
- 15 Free Crochet Letters Patterns
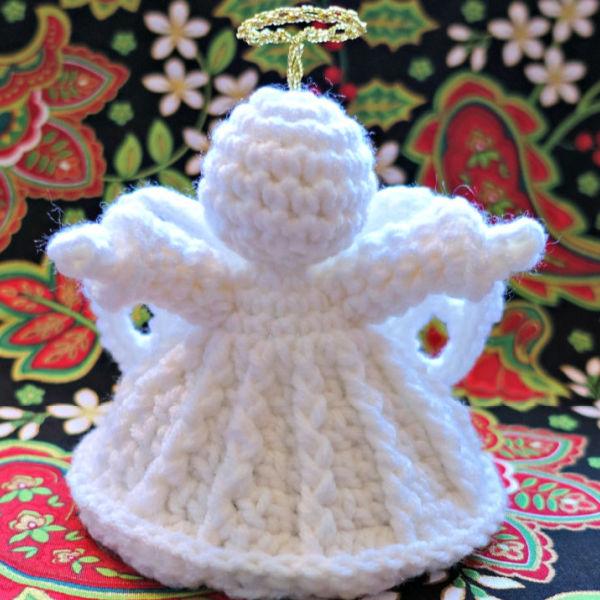
- 22 Free Crochet Angel Patterns
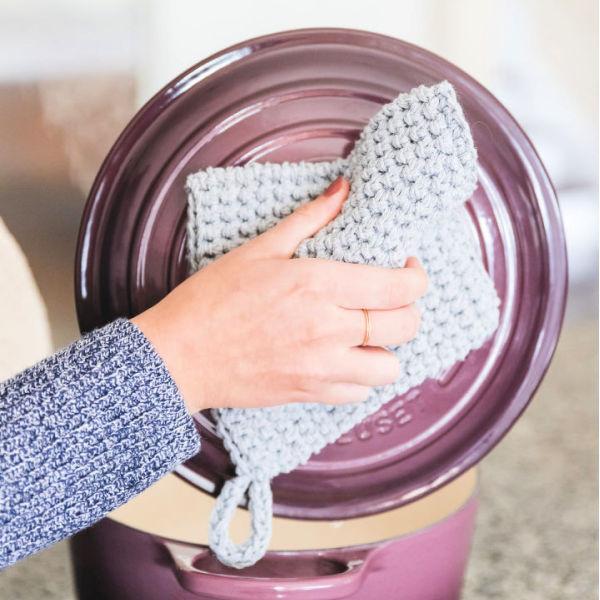
- 25 Free Crochet Potholder Patterns
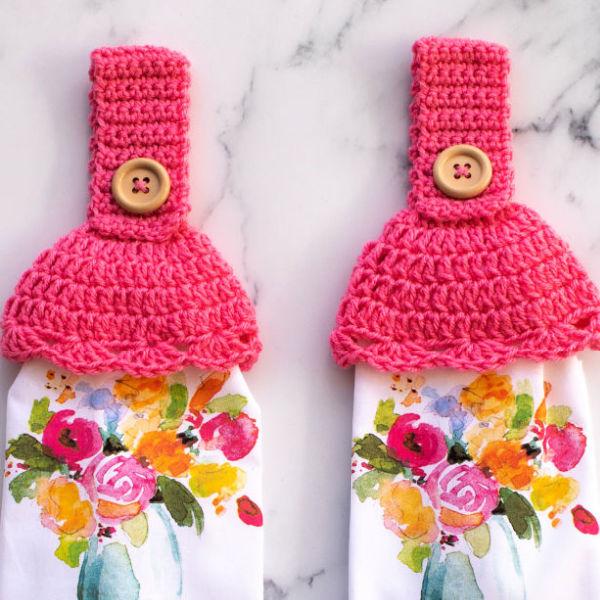
- 20 Unique Free Crochet Towel Topper Pattern
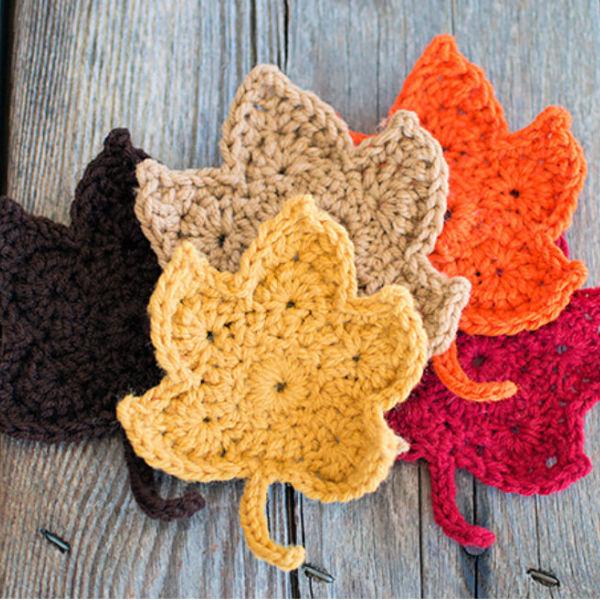
- 25 Free Crochet Leaf Pattern with PDF to Download
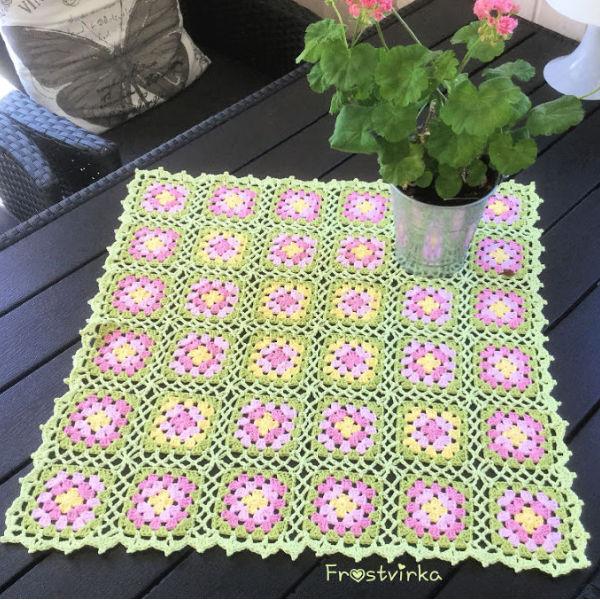
- 25 Free Crochet Tablecloth Patterns
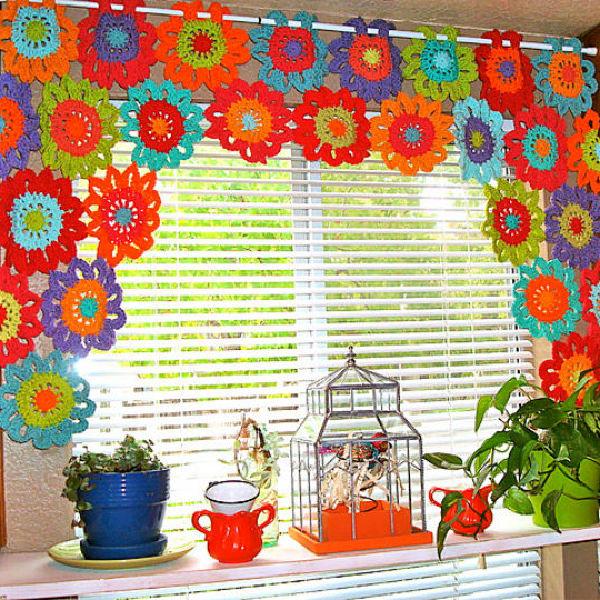
- 10 Free Crochet Valance Pattern (Download PDF)
Free Crochet Patterns
- Free Crochet Slippers Pattern for Beginners (Video Tutorial)
- 10 Simple Crochet Gifts Your Partner Will Love
- 30 Free Crochet Basket Patterns
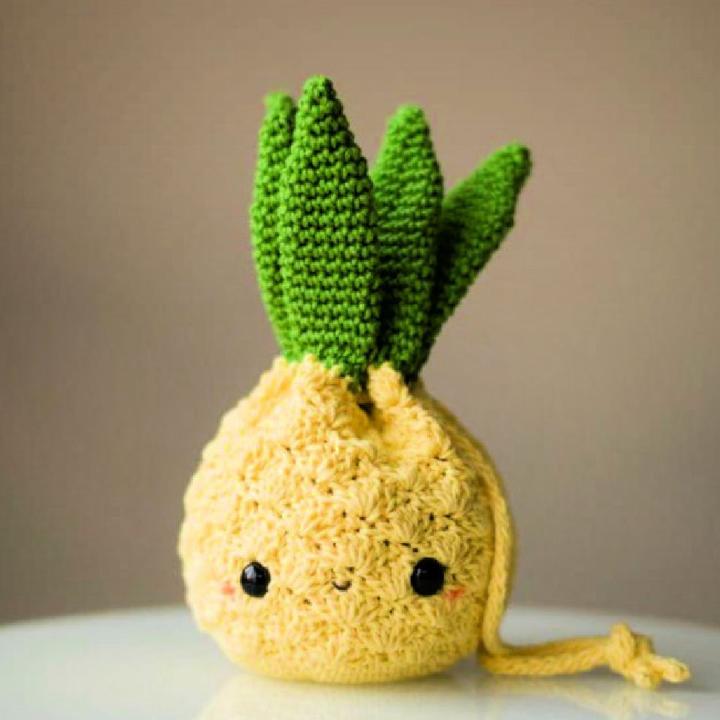
- 20 Free Pineapple Crochet Patterns
- 30 Free C2C Crochet Patterns for Beginners
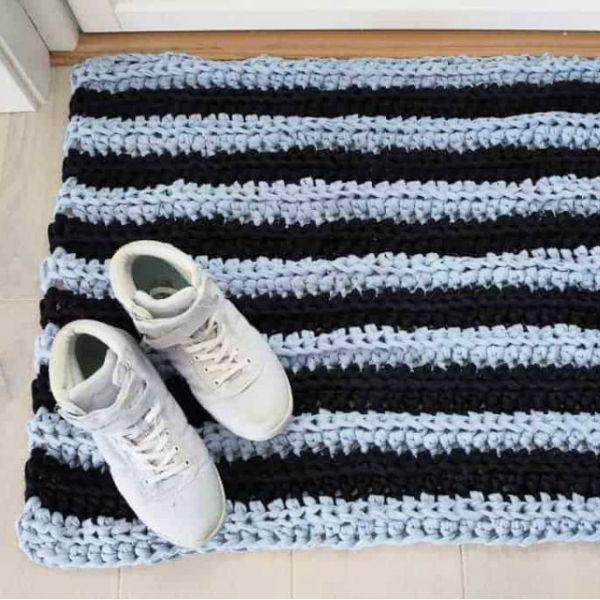
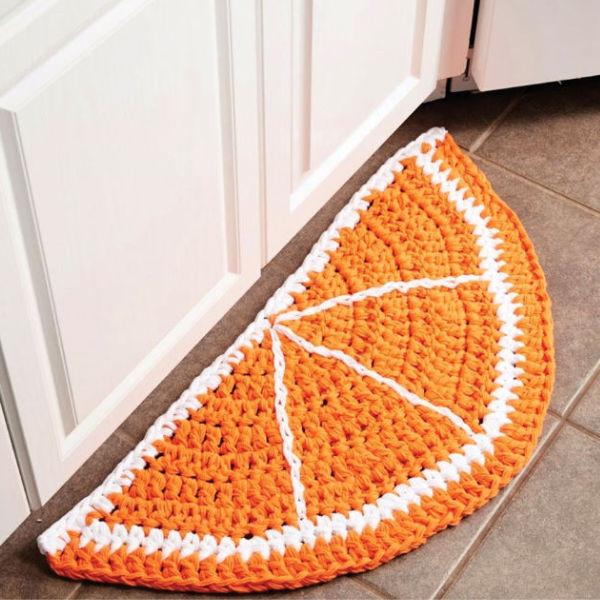
- 20 Free Crochet Rug Patterns With Bulky Yarn
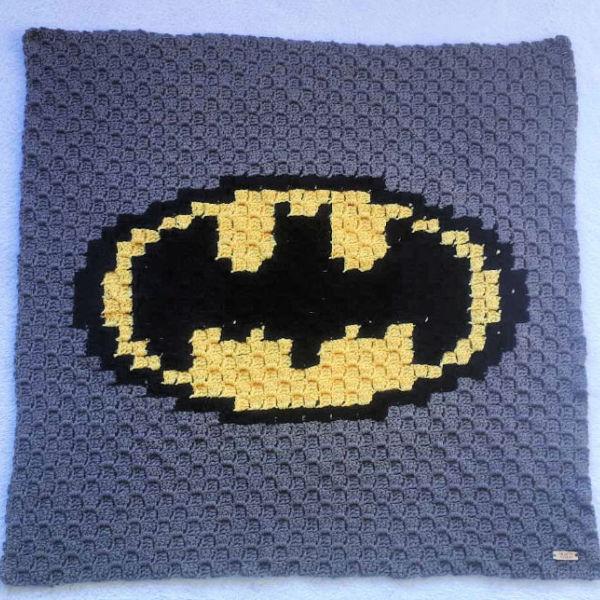
- 7 Free Crochet Batman Blanket Pattern
- 10 Free Crochet Floor Rug Patterns
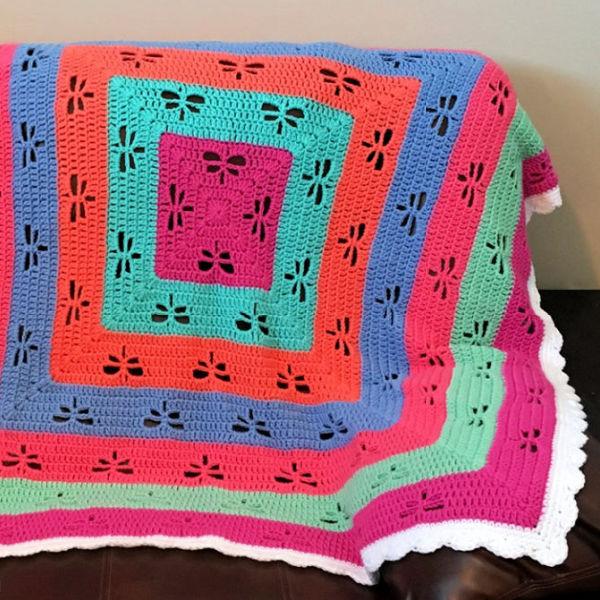
- 4 Free Crochet Dragonfly Blanket Patterns
- 26 Free Chevron Crochet Patterns
- 25 Free Crochet Prayer Shawl Patterns
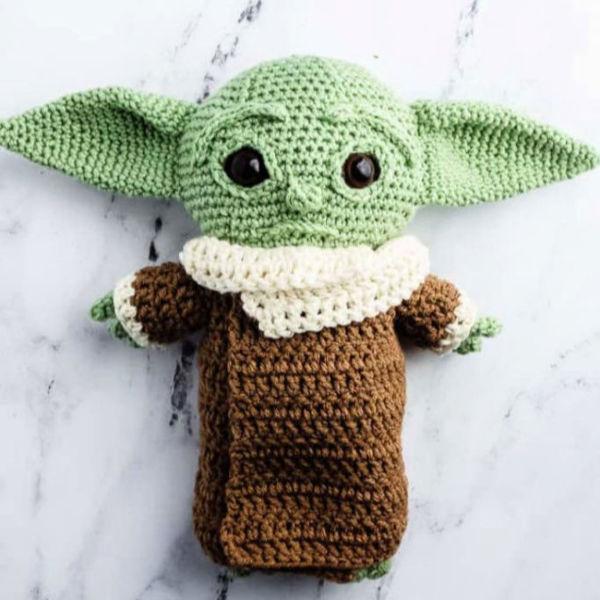
- 20 Unique Baby Yoda Crochet Pattern Free
- 30 Free Crochet Beanie Patterns
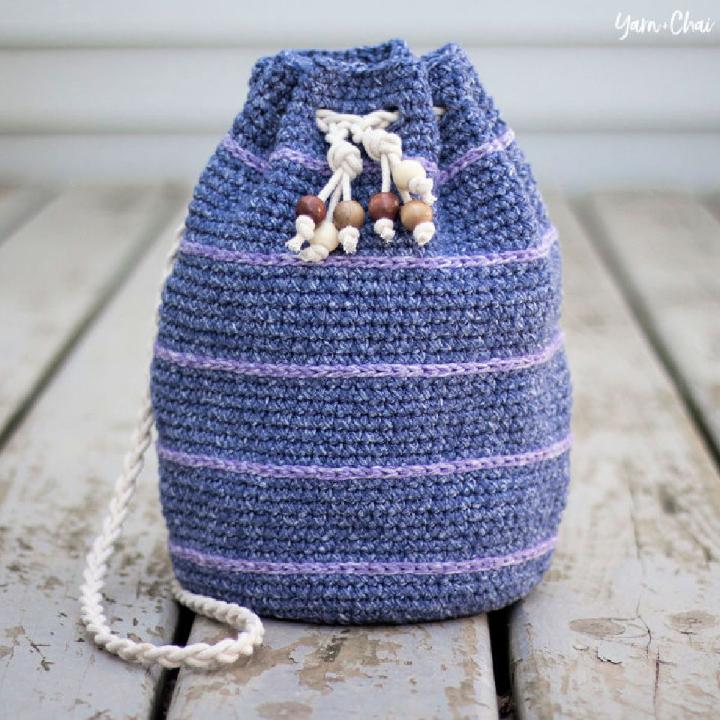
- 15 Free Crochet Drawstring Bag Patterns
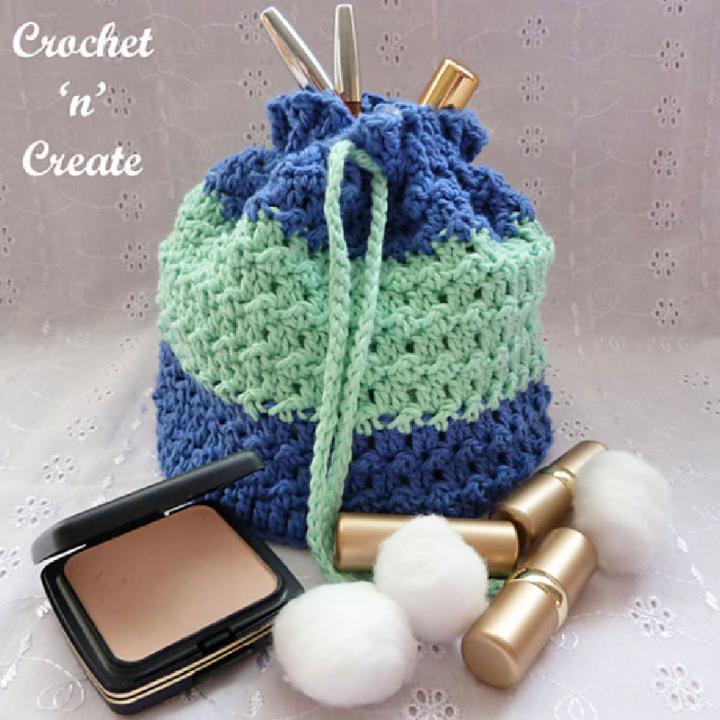
- 15 Free Crochet Makeup Bag Patterns
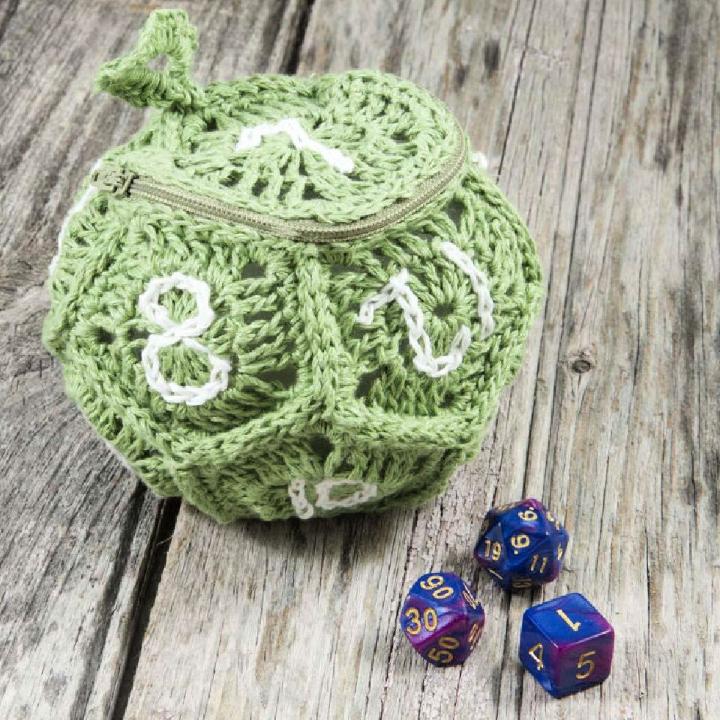
- 12 Free Crochet Dice Bag Patterns
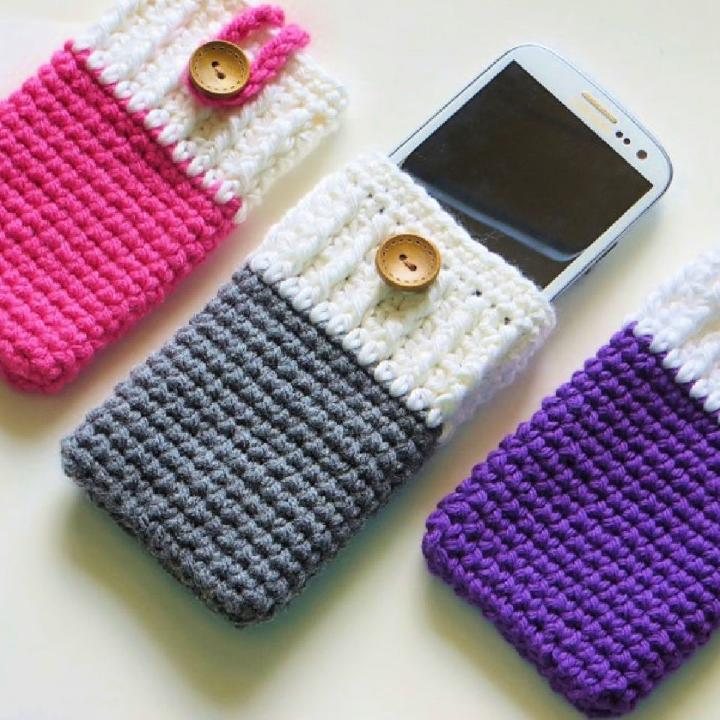
- 25 Free Crochet Phone Case Patterns
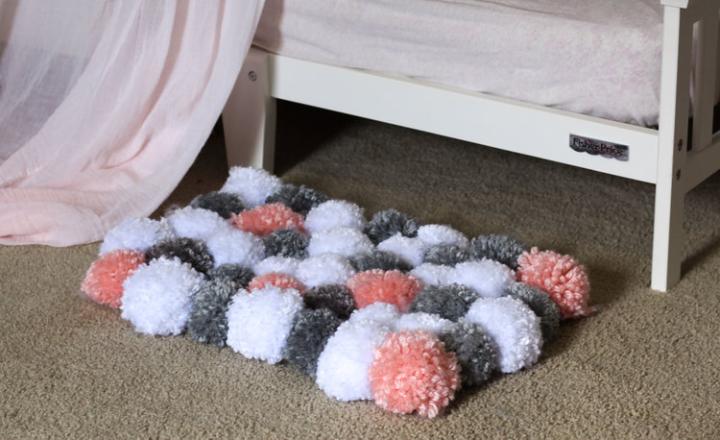
- How to Clean a Pom Pom Rug
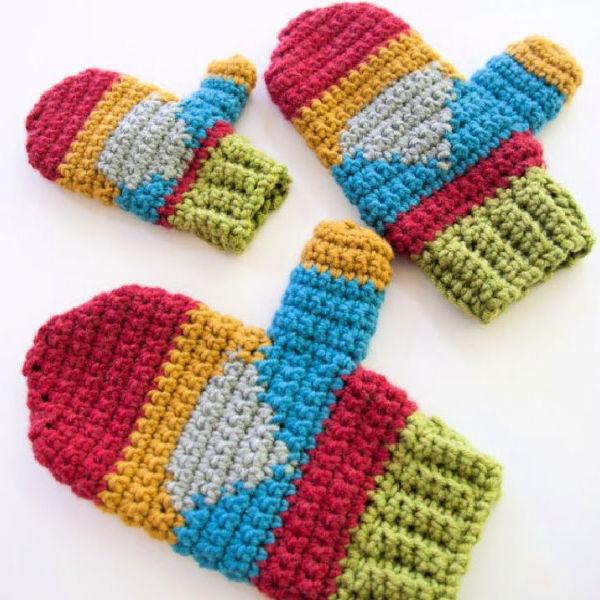
- 20 Free Crochet Mittens Pattern
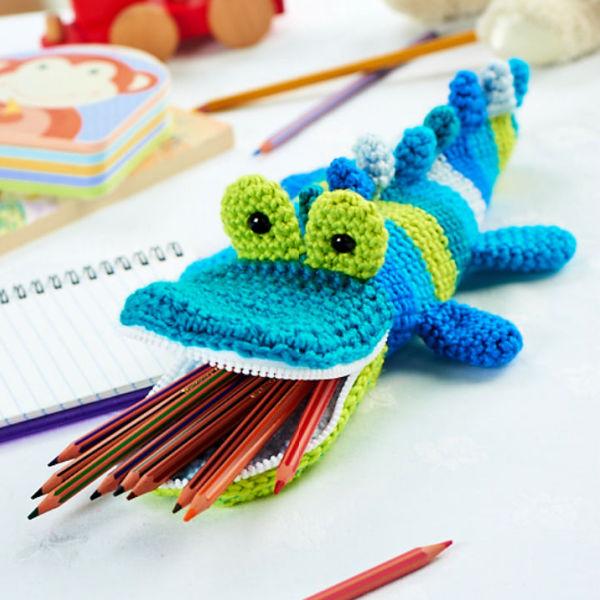
- 15 Free Crochet Pencil Case Patterns
- 20 Free Crochet Pouch Patterns
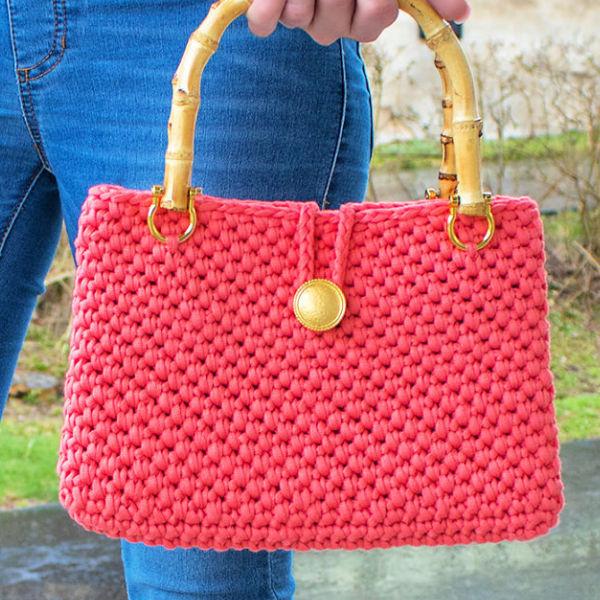
- 20 Free Crochet Handbag Patterns
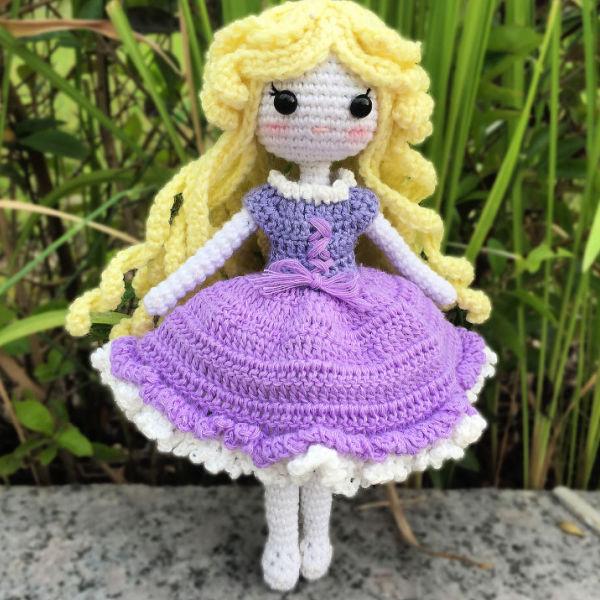
- 25 Free Crochet Doll Patterns
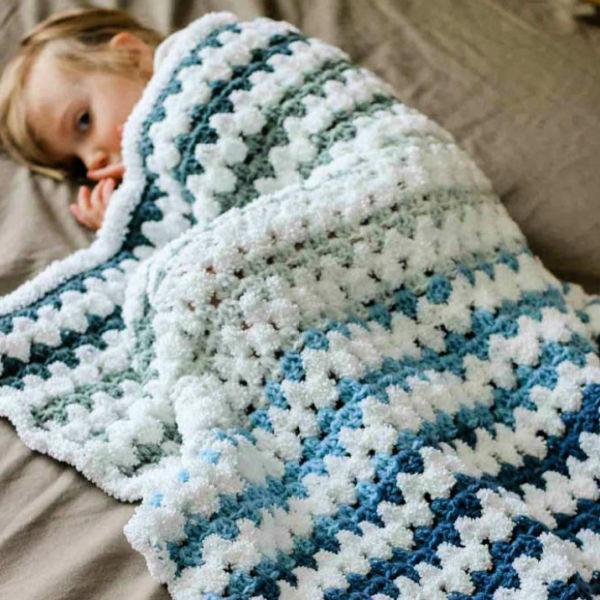
- 20 Easy Double Crochet Baby Blanket Patterns Free
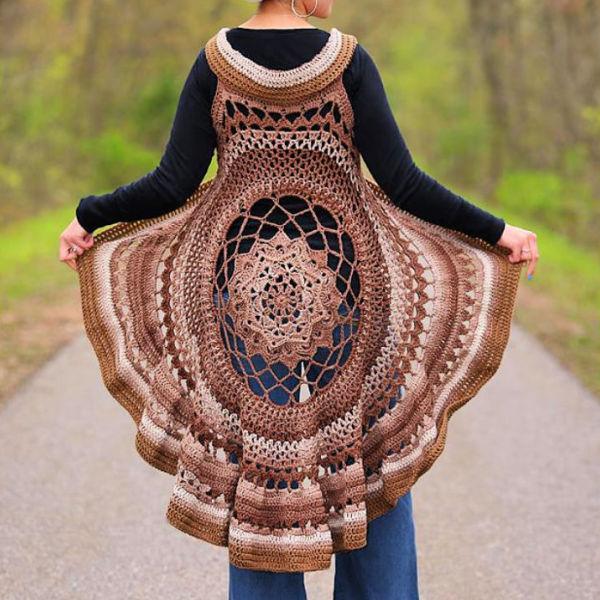
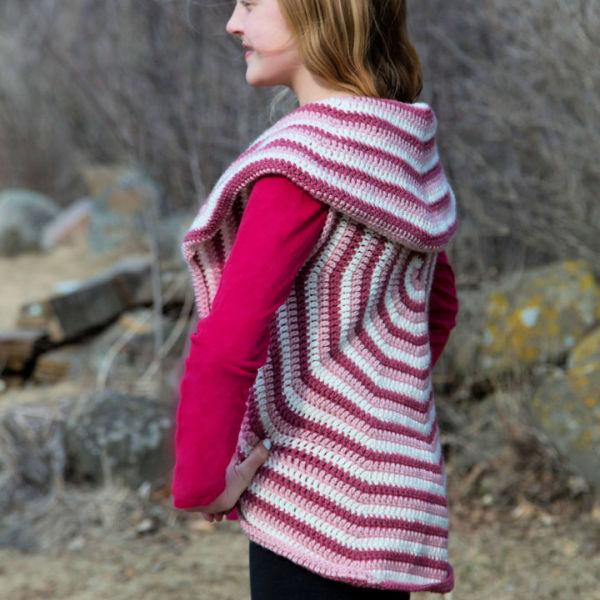
- 10 Free Crochet Circle Vest Patterns
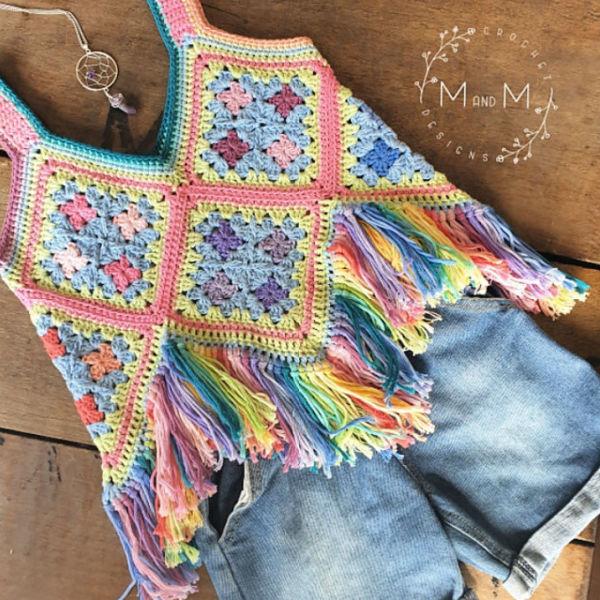
- 20 Free Boho Crochet Patterns
- 15 Free African Flower Crochet Patterns
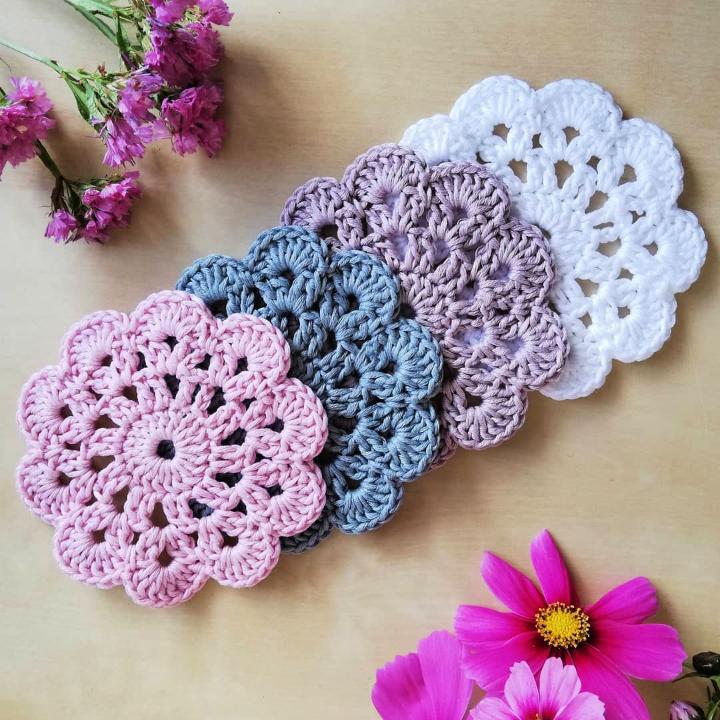
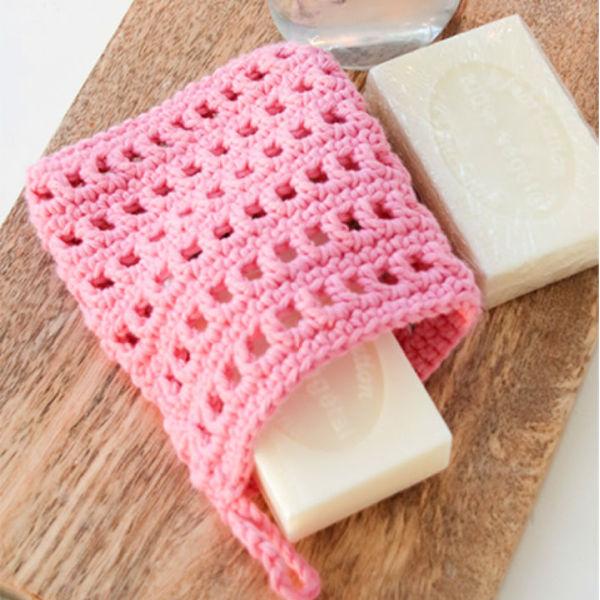
- 20 Free Crochet Soap Saver Patterns
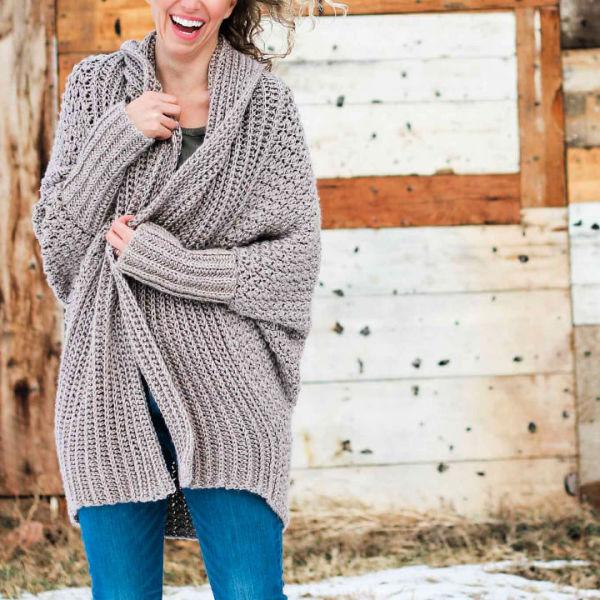
- Habitat Cardigan – 10 Free Crochet Sweater Pattern
- 40 Free Crochet Vest Patterns for Beginners